Brass hardware adds timeless beauty and lasting value to your home. Before you spend money on hinges, pulls, knobs, or faucets, asking the right questions can save you from costly mistakes and buyer’s regret. This guide walks you through six essential questions every beginner should ask, using simple language and step-by-step advice.
Whether you’re updating kitchen cabinets, restoring vintage furniture, or renovating a bathroom, brass hardware requires careful selection. The market offers everything from solid brass to brass-plated zinc, and the differences affect both appearance and longevity. By following this numbered guide, you’ll learn to evaluate quality, match finishes, and avoid common pitfalls that trip up first-time buyers.
Understanding Brass Composition and Quality
Step 1: Check if the hardware is solid brass or brass-plated. Solid brass means the entire piece is brass metal from surface to core. Brass-plated items have a thin brass coating over steel, zinc, or another base metal.
Caution: Many retailers use “brass” in product names even when the item is only plated. Always read the full material description before adding to cart.
Solid brass costs more but lasts decades without the finish peeling or flaking. It develops a natural patina over time that many homeowners find attractive. Brass-plated hardware costs less upfront but the plating can wear through in high-use areas like door handles or kitchen pulls within a few years.
Step 2: Look for the brass alloy percentage. Quality solid brass hardware typically contains 60-70% copper mixed with zinc. Higher copper content produces a richer, warmer color and better corrosion resistance.
Caution: If a product listing doesn’t mention alloy composition, assume lower quality or contact the seller directly to ask.
Some manufacturers specify “260 brass” or “C360 brass” in technical descriptions. These numbers refer to industry-standard alloy formulas. For home hardware, any alloy labeled “architectural brass” or “commercial grade brass” will serve you well. Avoid generic “brass-finish” or “brass-tone” descriptions—these phrases usually signal plated metal.
Matching Finish Types to Your Space
Step 3: Decide between polished, satin, antique, or unlacquered finishes. Each finish changes how the brass looks and how much maintenance you’ll need to perform.
Caution: Mixing finishes in one room can look unintentional unless you follow a deliberate design plan. Stick to one finish per space when starting out.
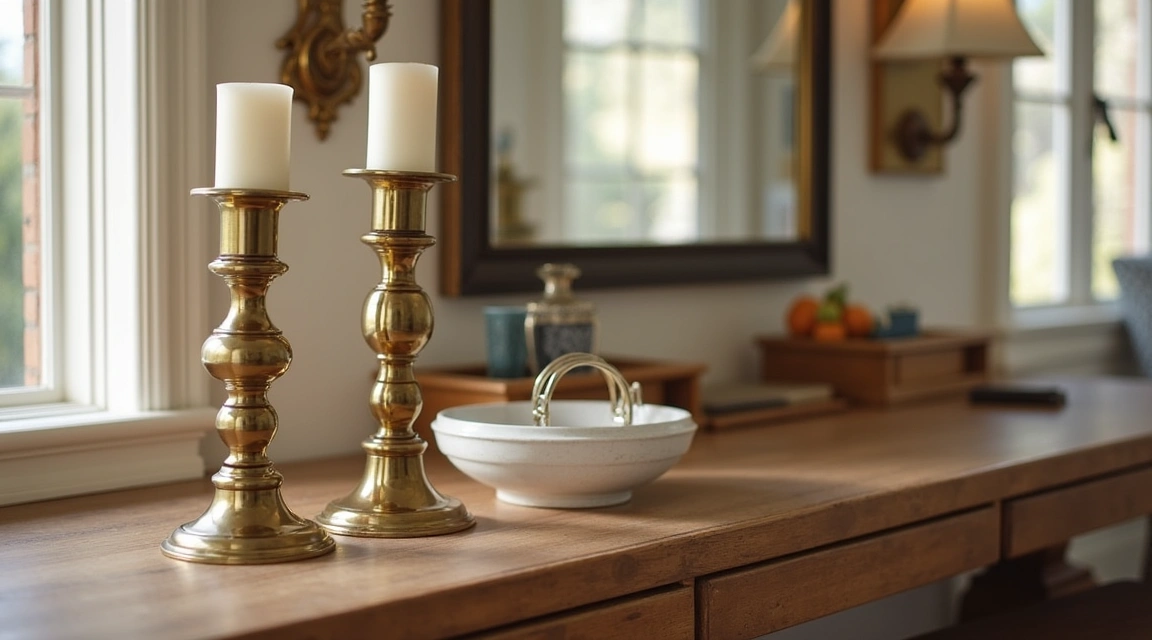
Polished brass shines brightly and works well in traditional or formal settings. It requires regular cleaning to maintain the gleam. Satin or brushed brass has a softer, matte appearance that hides fingerprints and water spots better than polished versions. Antique or aged brass features intentional darkening that mimics decades of natural patina, ideal for vintage or rustic interiors.
Unlacquered brass (also called living brass) has no protective coating. It tarnishes and darkens naturally over time, creating a unique, evolving look. This finish requires you to accept change—the hardware will never stay the same color. If you prefer a consistent appearance, choose lacquered brass with a clear protective seal that slows tarnishing.
Step 4: Test small samples in your actual space before ordering full sets. Lighting, wall colors, and adjacent materials all affect how brass appears.
Caution: Brass photographed under warm studio lights looks different than the same piece under cool daylight or LED bulbs in your home. Request physical samples whenever possible.
Many online suppliers sell single knobs or small sample sets at reduced prices. Mount samples temporarily on your cabinets or doors and observe them at different times of day. Check how they coordinate with your countertops, flooring, and light fixtures. What looks perfect on a website may clash with your existing décor.
Evaluating Size, Weight, and Installation Requirements
Step 5: Measure existing holes and confirm that new hardware will fit without modification. Cabinet pulls and knobs have standard center-to-center spacing (often 3 inches or 3.75 inches for pulls), but always verify your specific measurements.
Caution: If new hardware requires drilling additional holes, you’ll see old holes unless you fill and refinish them. Account for this extra work and cost in your planning.
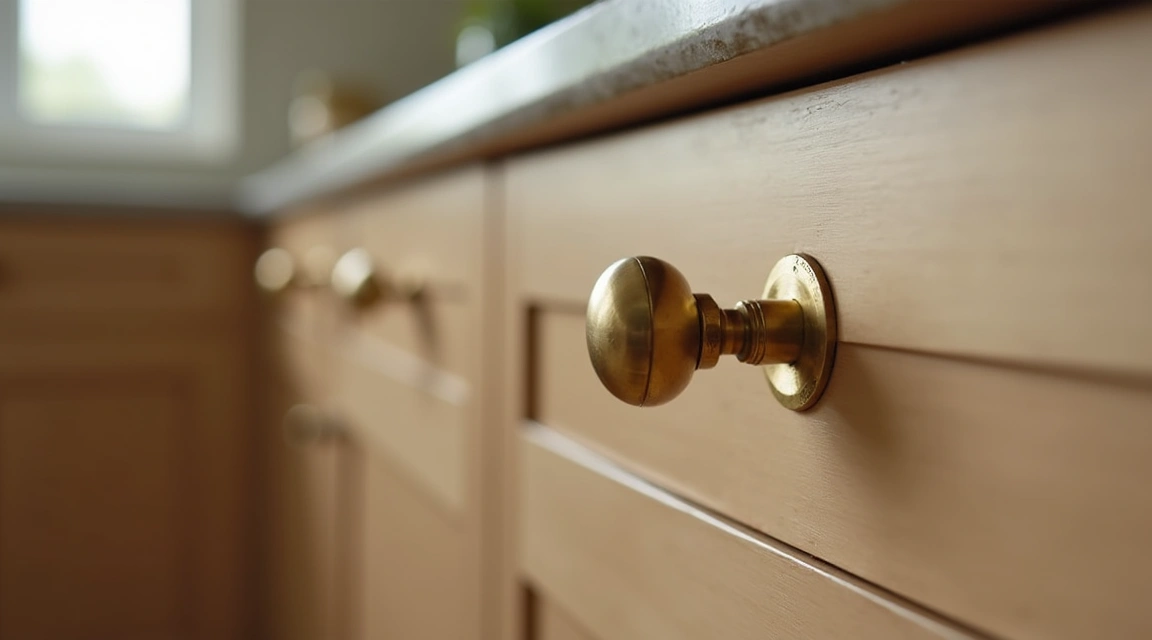
Use a ruler or tape measure to determine the distance between screw holes on your current hardware. Write down these measurements for every location where you plan to install new pieces. When shopping, filter search results by your exact spacing to narrow choices quickly. For knobs, measure the diameter of the existing hole—most use 8mm or 10mm screws, but oversized decorative knobs may need larger openings.
Weight matters more than beginners expect. Heavy solid brass pulls can stress cabinet doors over time, especially on older or lightweight construction. For large drawer fronts, heavy pulls distribute stress better than lightweight alternatives. For small cabinet doors, choose smaller or hollow-backed designs to prevent sagging hinges.
Step 6: Check what installation hardware comes included. Quality brass hardware usually ships with matching brass screws at the correct length for standard applications.
Caution: Using steel screws with brass hardware creates a mismatch that looks unfinished and may cause galvanic corrosion where dissimilar metals touch in damp environments.
Read the product description to see if screws are included and what length they measure. Standard cabinet doors are 3/4 inch thick, so 1-inch screws work for most knobs and pulls. Thicker doors or mounting through decorative backplates require longer screws. If screws aren’t included, order brass screws separately from the same supplier to ensure the finish matches perfectly.
Asking About Durability and Maintenance
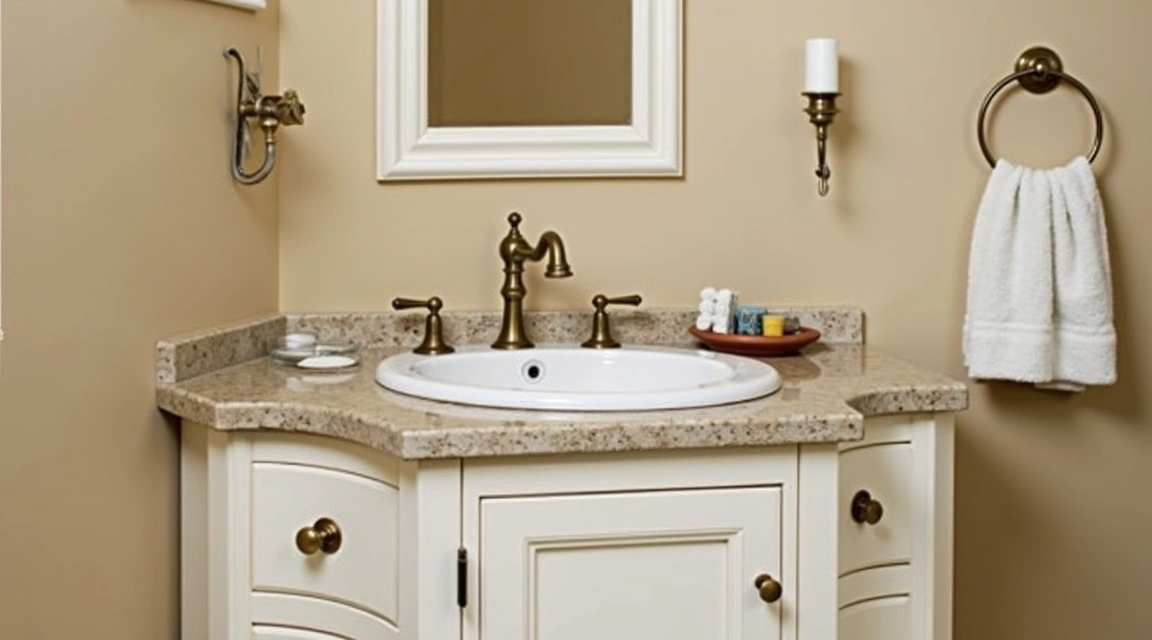
Beyond the initial purchase questions, consider long-term care. Brass hardware in bathrooms faces moisture and cleaning chemicals daily. Kitchen hardware encounters grease, food acids, and frequent handling. Outdoor brass must withstand rain, humidity, and temperature swings.
Ask sellers these follow-up questions: Does the finish have a protective coating? Can I polish the hardware if it tarnishes? Will harsh cleaners damage the surface? How do I clean tarnish without scratching?
For lacquered brass, use only mild soap and water—abrasive cleaners or polishes will strip the protective coating. For unlacquered brass, specialty brass polish restores shine when tarnish builds up. Antique finishes should never be polished because you’ll remove the aged patina that gives them character. Satin finishes resist showing wear but can be lightly buffed with fine steel wool if scratches appear.
In high-humidity areas like coastal homes, even solid brass can develop verdigris (green oxidation) if left unsealed. Ask if an additional clear coat is recommended for your climate. Some homeowners apply paste wax every few months to create a moisture barrier on unlacquered brass.
Common Mistakes When Buying Brass Hardware
First-time buyers often order based on price alone, then discover that cheap brass-plated hardware begins flaking within months. Paying slightly more for solid brass eliminates this frustration. Another frequent error is ordering hardware online without checking return policies. Since color and finish vary between brands, always confirm you can return items if they don’t match your expectations.
Mixing hardware styles within one room creates visual chaos unless you’re experienced with eclectic design. Beginners should match all pulls, knobs, and hinges to one product line from a single manufacturer. This ensures consistent color, finish texture, and overall aesthetic.
Forgetting to account for backplate size causes problems during installation. A large decorative backplate might cover old screw holes, which sounds convenient—but if the new plate is too large, it overlaps adjacent cabinet frames or bumps into nearby hardware. Measure the space around each mounting location carefully.
Overlooking screw length leads to hardware that’s too loose or won’t tighten properly. Too-short screws leave pulls wobbly. Too-long screws poke through the interior cabinet surface or bind in the hole before the hardware sits flush. Measure your door or drawer thickness and add the hardware base thickness to calculate the correct screw length.
Another mistake is assuming all “antique brass” finishes look alike. Each manufacturer uses a different aging formula. One company’s antique brass appears chocolate brown, while another’s looks greenish-bronze. Order samples from each supplier you’re considering to compare finishes side by side.
Summary and Next Steps
Buying brass hardware becomes straightforward when you ask six key questions: Is it solid brass or plated? What alloy percentage does it contain? Which finish matches my space? Do the measurements fit my existing holes? What installation hardware is included? How do I maintain it long-term?
Following the numbered steps above helps you avoid the most common beginner mistakes. Check composition first, then match finish to your room’s style and lighting. Verify all measurements before ordering, and confirm that quality screws are included. Finally, understand the maintenance requirements so your brass hardware continues looking beautiful for years.
Start by identifying one area of your home where you want to upgrade hardware. Measure carefully, order samples of your top two finish choices, and observe them in place for several days. Once you’re confident in your selection, order the full quantity. With these questions answered, you’ll invest in brass hardware that delivers both beauty and lasting value.