
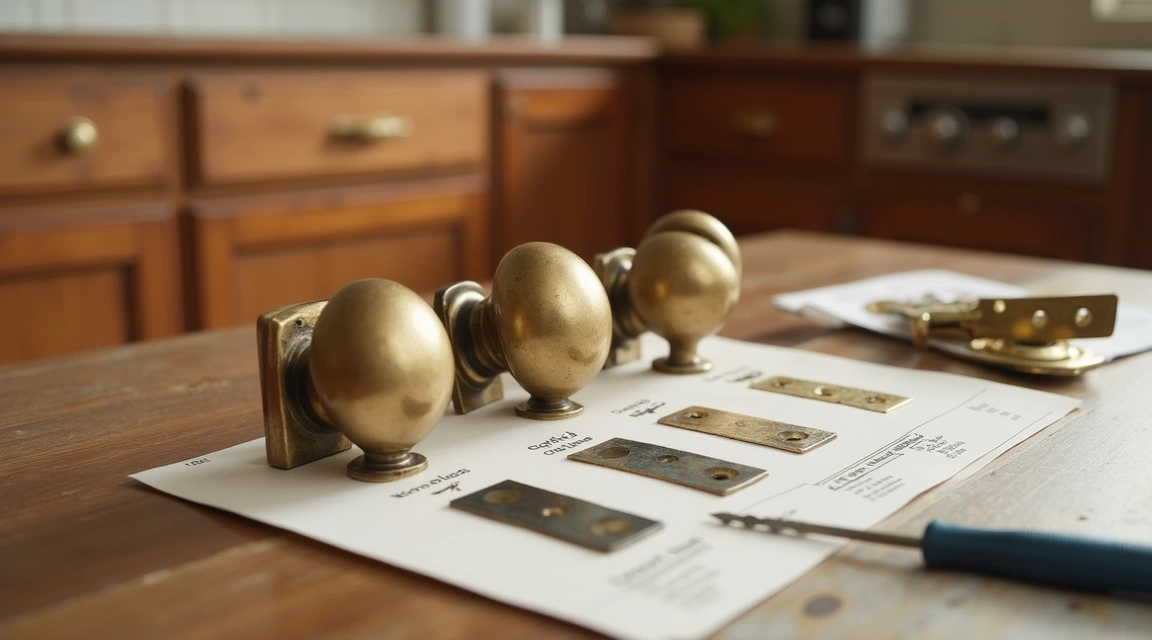
A cabinet knob’s backplate diameter, a pull’s center-to-center mount distance, and the exact finish code on a brass handle determine whether your new hardware will install cleanly or force you to patch screw holes and touch up paint. Before you order brass cabinet hardware, bathroom accessories, or door pulls, a short checklist covering measurement, finish behavior, and installation compatibility will prevent returns and rework.
Brass hardware is priced and specified by material composition, finish process, and physical dimensions—not merely by style. Unlacquered brass will patina within weeks in a humid bathroom; lacquered brass keeps its factory shine for years but shows wear if scratched. A polished-brass pull ordered without confirming screw-hole spacing may arrive with mounting centers ten millimeters wider than your existing holes, requiring new drilling or a backplate to cover the old marks. Because manufacturers do not use a universal standard for dimension labeling, checking each specification before purchase is faster than managing a return.
Confirm Mounting Dimensions and Existing Hole Pattern
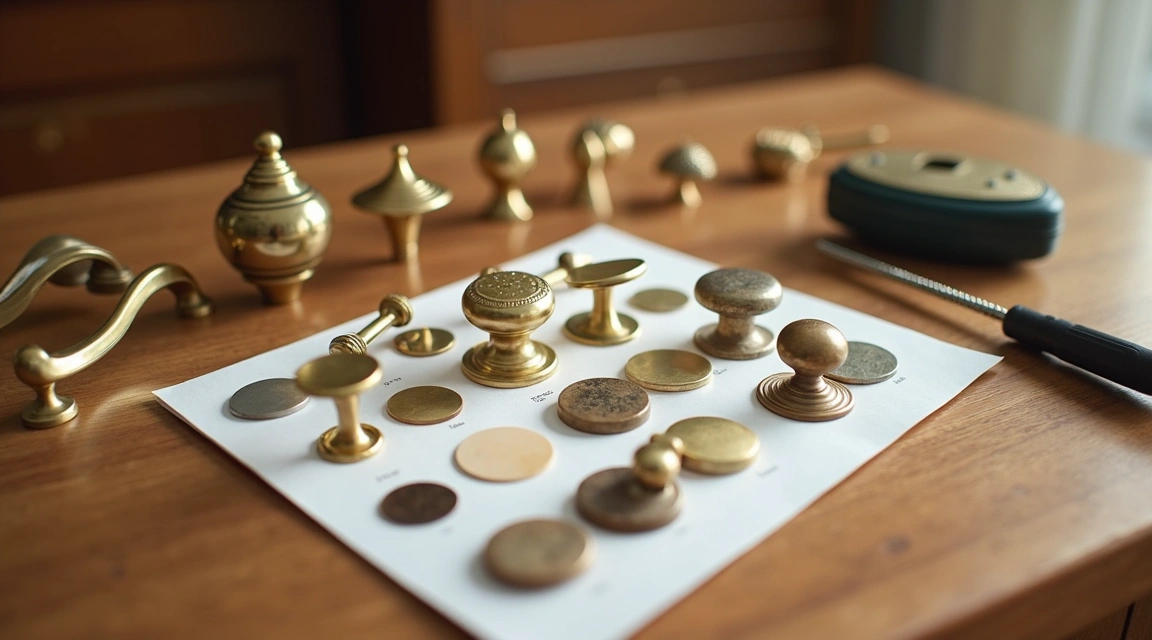
Cabinet and furniture hardware is sold by center-to-center distance—the span between the two screw holes on a pull—and by total projection or depth for knobs. If you are replacing existing hardware, measure your current center-to-center with a ruler or caliper before shopping. Common pull spacings include 96 mm, 128 mm, and 160 mm, but decorative and vintage-style brass pulls may use 76 mm, 3 inches, or custom intervals.
Write down the hole spacing and the diameter of the existing screw holes. Most modern cabinet screws are M4 metric or 8-32 imperial; if your new brass pull ships with a different thread, you will need matching screws or an adapter sleeve. For single-hole knobs, measure the current hole diameter and the knob’s projection—the distance the hardware extends from the cabinet face. A deep projection works well on a drawer front but can snag clothing on a bedroom dresser or obstruct a tight galley-kitchen aisle.
If you plan to cover old screw holes with a backplate or escutcheon, confirm that the new plate is wide and tall enough to hide all existing marks. Photographing your current hardware next to a tape measure before you order will give online vendors or showroom staff the reference they need to suggest a compatible replacement.
Choose Between Lacquered, Unlacquered, and Living-Finish Brass
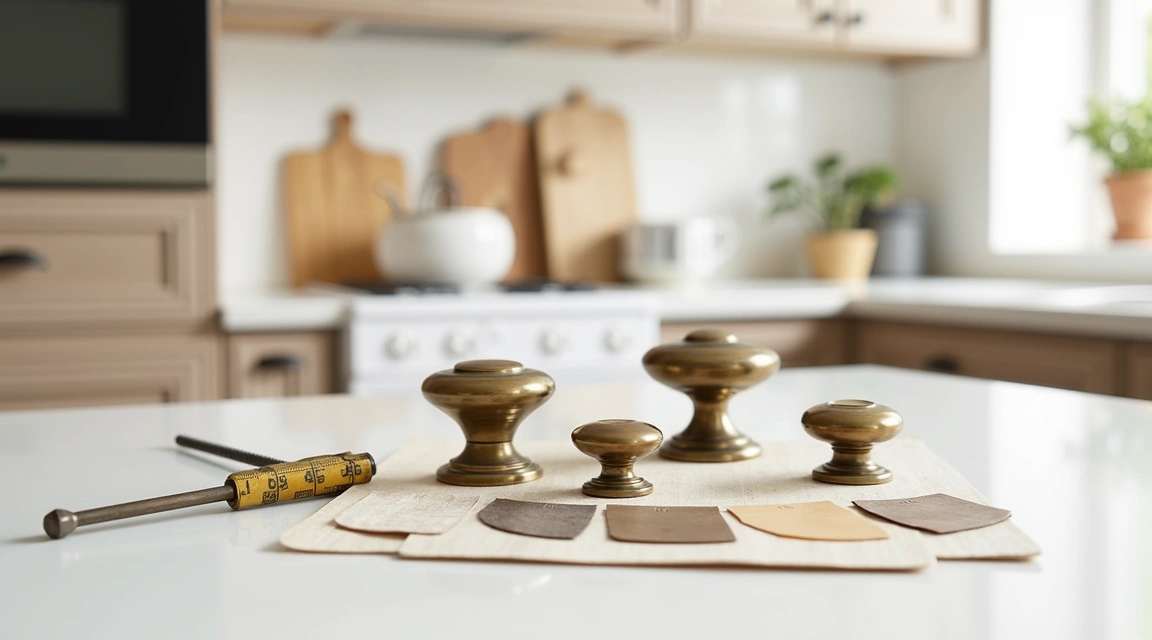
Brass hardware is available in three broad finish families: lacquered, unlacquered, and plated or coated living finishes. Each behaves differently over time, and your choice should match your maintenance preference and the room’s humidity and use level.
Lacquered brass is sealed at the factory with a clear polymer coat that prevents tarnish and patina. It retains its bright or antiqued appearance without polishing, making it practical for low-touch decorative pulls or for households that prefer a consistent look. The lacquer will eventually wear at contact points—the top of a pull where fingers grip—and once compromised it cannot be invisibly repaired at home; you can strip the entire finish and treat the brass as unlacquered, or replace the piece. Lacquered brass is the default choice for most mass-market cabinet hardware.
Unlacquered brass has no protective coating and will oxidize in air and moisture, developing a brown, amber, or greenish patina within weeks to months. The speed and color of the patina depend on humidity, skin oils, and cleaning products. Many designers and homeowners favor unlacquered brass for its warm, lived-in character; others find the uneven color distracting. You can slow or reverse patina by periodic polishing with a brass-specific compound, or leave it to age naturally. Unlacquered brass is popular for high-end cabinet pulls and bath accessories in kitchens and powder rooms where a hand-burnished aesthetic is desired.
Living finishes—such as oil-rubbed bronze, antique brass, or satin brass—are surface treatments or thin platings applied over a base metal. They mimic aged or patinated brass but are engineered to wear in predictable high-touch areas, creating a two-tone effect over time. Confirm with the manufacturer whether a living finish can be cleaned with standard household products or requires only water and a soft cloth; some finishes will stain or streak if wiped with acidic or abrasive cleaners.
Check Package Contents and Installation Hardware
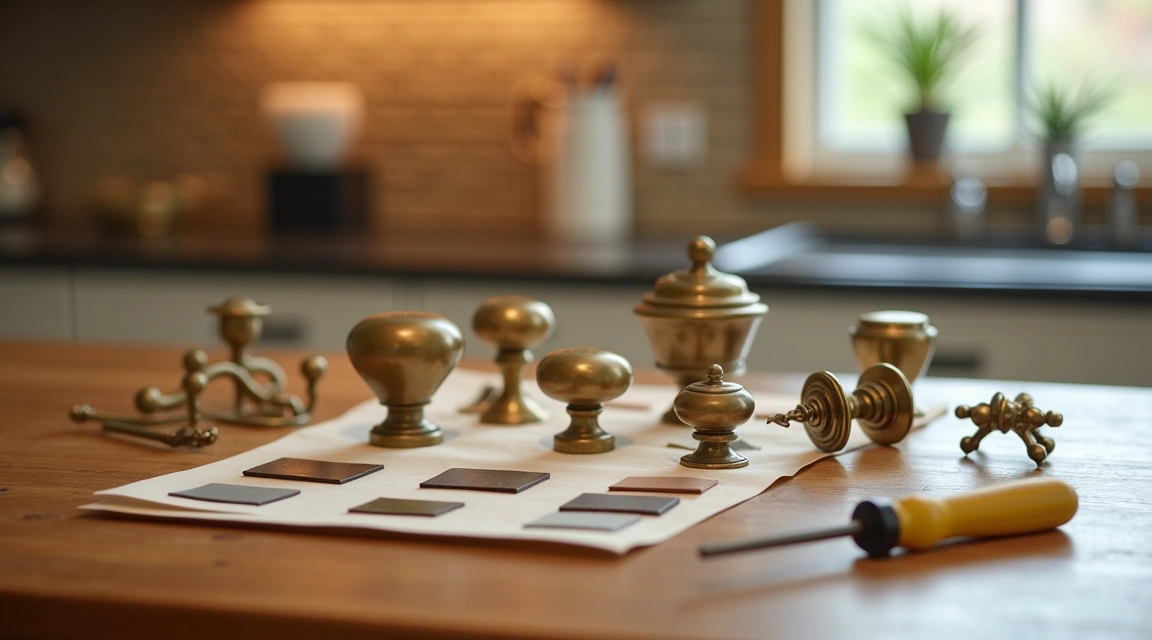
Brass hardware is sometimes sold as a decorative shell only, with mounting screws and bolts packaged separately or not included at all. Before checkout, verify that your order includes the screws, washers, and any adapter sleeves required for your cabinet or door thickness.
Standard cabinet doors and drawer fronts range from twelve to twenty millimeters thick; if your screws are too short, the pull will wobble or pull out under use. If your screws are too long, they will protrude inside the drawer and snag contents. Many brass-hardware suppliers offer screw length options at checkout—measure your door thickness and add a few millimeters for the nut or insert on the interior side.
For vintage or reproduction brass hardware, check whether the mounting system uses modern machine screws or period-correct wood screws. Wood screws require a pilot hole and will not work with European-style concealed hinge plates or metal drawer boxes without a threaded insert. If you are retrofitting brass pulls onto frameless cabinets, confirm that the pull’s backplate or footprint will not interfere with the hinge’s opening radius or soft-close mechanism.
Plan for Finish Coordination Across Rooms
Brass hardware does not need to match perfectly across every room, but abrupt finish shifts—polished brass in the kitchen and oil-rubbed bronze in an open-plan dining area—can fragment a space visually. Decide early whether you will carry one brass finish throughout the home or define finish zones by floor or function.
If you choose unlacquered brass, accept that pulls in a high-use kitchen will patina faster than hardware in a guest bedroom; this variation is part of the material’s character. If you prefer uniform appearance, lacquered brass or a plated living finish offers more predictable aging. Order all hardware for a single room or project phase in one batch when possible; brass alloy and finish recipes can shift slightly between production runs, and a pull ordered six months later may not match the original set under direct sunlight.
Collect finish samples or order one piece of each style before committing to a full set. Photograph the samples on your actual cabinet doors in natural and evening light; screen images of brass often skew warmer or cooler than the physical finish, and a sample card will show you the real reflectivity, grain, and texture.
Maintenance and Longevity Considerations
Brass is a soft metal compared to stainless steel or zamak alloy; it will dent if struck and can bend if over-torqued during installation. Tighten screws snugly but do not force them, especially on thin-wall cabinets or hollow-core doors. If a screw spins without tightening, the hole is stripped; install a threaded insert or move the hardware to a fresh location rather than relying on adhesive or oversized screws.
Clean lacquered brass with a damp microfiber cloth and mild dish soap; avoid ammonia-based glass cleaners and abrasive pads, which will scratch the lacquer and dull the shine. For unlacquered brass, wipe daily with a dry cloth to remove fingerprints and moisture. When patina becomes uneven or dark, polish with a commercial brass cleaner or a paste of lemon juice and baking soda, rinse thoroughly, and dry immediately to prevent water spots.
In coastal or high-humidity climates, unlacquered brass hardware may develop green verdigris if left wet. Verdigris is a copper-carbonate compound that forms on brass and bronze; it is not harmful but can stain grout or painted surfaces if not wiped away promptly. If you live near salt water or run a steam-heavy household, lacquered or plated brass will require less intervention than raw unlacquered finishes.
Budget and Lead Time for Custom or Specialty Hardware
Stock brass hardware ships within days and is priced accessibly, but custom finishes, oversized pulls, or reproduction hardware often carry lead times of several weeks and higher unit costs. If your project has a fixed installation date—a kitchen remodel with a contractor schedule or a furniture restoration with a client deadline—order brass hardware early and request a lead-time confirmation from the supplier.
Specialty finishes such as hand-antiqued patina, custom engraving, or non-standard dimensions may be produced on demand and cannot be returned once fabricated. Confirm all measurements, finish codes, and quantities in writing before authorizing production. For large orders, ask whether the supplier offers a sample-pull service or a small-batch trial run; paying for one or two test pieces is cheaper than reprinting an entire set if the finish does not match your expectation.
Brass pricing fluctuates with copper and zinc commodity costs, and premium unlacquered solid-brass hardware costs more per unit than plated or brass-finished zamak. Set your hardware budget as a line item early in the design process and allocate extra for finish samples, longer screws, and any backplates needed to cover old holes. A mid-range unlacquered brass pull typically costs more than a lacquered equivalent but less than a hand-forged or artisan-cast piece; balance your aesthetic goals with the reality of the full-project spend.
Using this checklist before you click purchase—confirming dimensions, understanding finish behavior, checking installation hardware, planning for coordination, and accounting for lead time—will reduce returns, prevent installation delays, and ensure your brass hardware performs as expected in daily use. Measure twice, verify finish care requirements, and order samples when budget allows; the few extra minutes spent on specification will pay off the first time you open a drawer and find hardware that fits, functions, and ages gracefully.