Brass fixtures, ornaments, and hardware add timeless warmth to any home. Yet over time, exposure to air and moisture causes brass to develop a dull, greenish-brown layer called tarnish. This natural oxidation process dulls the metal’s lustrous golden shine. Learning how to clean tarnished brass safely preserves both its beauty and its value without causing damage. This guide walks beginners through every step using common household materials and straightforward methods.
Before you begin any cleaning project, understanding what brass is and why it tarnishes helps you choose the right approach. Brass is an alloy made primarily from copper and zinc. When oxygen reacts with the copper content, it forms copper oxide—the tarnish you see. While tarnish is harmless and even protective in some cases, most people prefer the bright, polished appearance of freshly cleaned brass.
Understanding Your Brass Before You Clean
Not all brass items should be cleaned the same way. Some pieces are solid brass, while others are brass-plated. Lacquered brass has a clear protective coating that should not be scrubbed aggressively. Antique brass items may have patina that adds value, and removing it could diminish their worth.
Step 1: Test whether your item is solid brass or brass-plated by holding a magnet to it. Real brass is not magnetic, so if the magnet sticks, your item is likely brass-plated steel or another metal beneath a thin brass layer. Plated items require gentler cleaning to avoid wearing through the brass coating.
Caution: Aggressive scrubbing on brass-plated items can remove the brass layer entirely, exposing the base metal underneath and ruining the piece permanently.
Step 2: Check for lacquer by looking for a glossy, even coating on the surface. If you see a clear finish or the brass has never tarnished despite age, it likely has a protective lacquer. Lacquered brass should only be wiped with a soft, damp cloth. Harsh cleaners or abrasives will damage the lacquer and require professional refinishing.
Caution: Once you remove lacquer, the brass will tarnish regularly and require ongoing maintenance. Consider whether you want that commitment before stripping the coating.
Step 3: Assess the value and age of your brass item. Antique brass candlesticks, doorknobs, or instruments may have developed a desirable patina that collectors prize. Consult an appraiser or antique specialist before cleaning valuable or old pieces. Some patina actually increases value and authenticity.
Caution: Removing patina from antiques can reduce their market value by fifty percent or more. When in doubt, leave antique items untouched or seek professional advice.
Gathering Safe Cleaning Materials
The beauty of cleaning brass at home is that effective, safe methods use ingredients you likely already own. Chemical brass cleaners work but often contain harsh acids or ammonia that produce strong fumes and require careful handling. Natural alternatives work just as well for most tarnish without the risks.
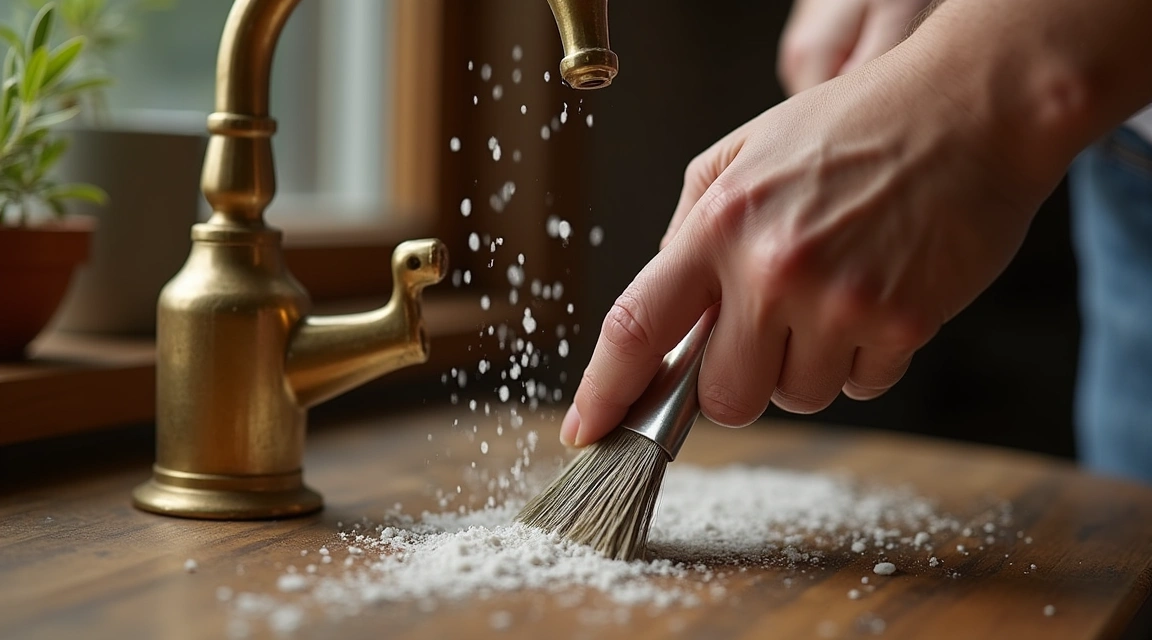
Step 4: Collect your cleaning supplies. For a basic brass cleaning session, you will need mild dish soap, warm water, white vinegar, table salt, all-purpose flour, lemon juice, soft cloths or microfiber towels, an old toothbrush with soft bristles, and a small bowl for mixing. Avoid steel wool, harsh scouring pads, or abrasive powders that scratch brass surfaces.
Caution: Never use bleach or cleaners containing bleach on brass. Bleach can cause permanent discoloration and pitting that cannot be reversed.
One popular homemade brass cleaner combines equal parts white vinegar, salt, and flour into a paste. The vinegar’s acetic acid dissolves tarnish, salt acts as a mild abrasive, and flour binds the mixture and slows the chemical reaction for controlled cleaning. Another simple option uses lemon juice and baking soda in the same way. Both methods are gentle enough for most brass items yet effective against moderate tarnish.
Step-by-Step Cleaning Process
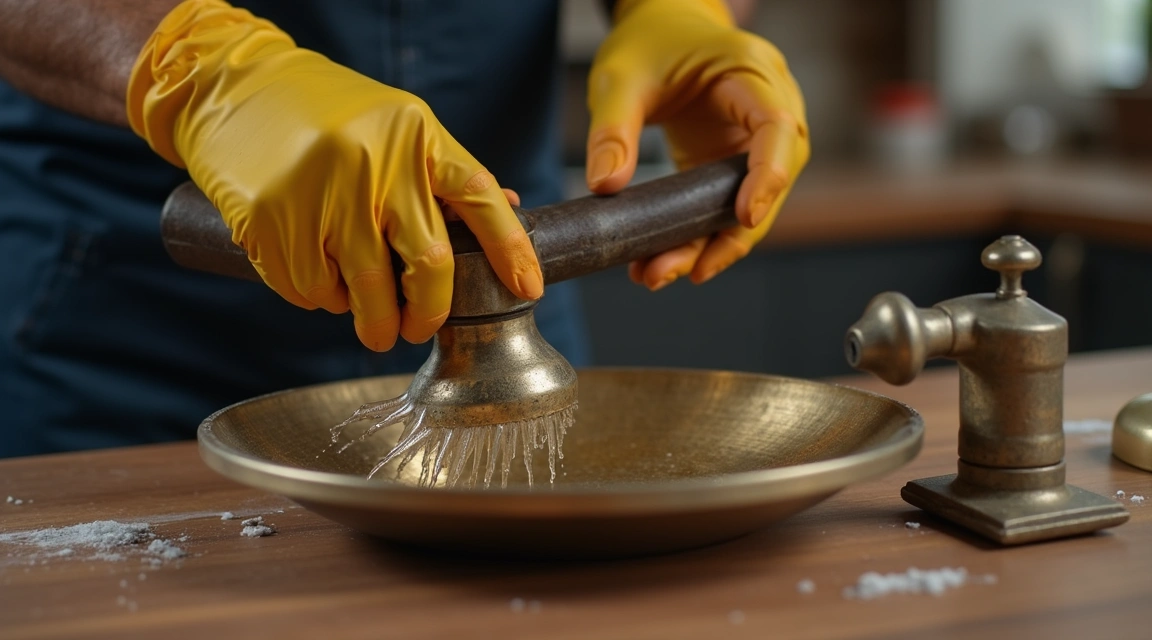
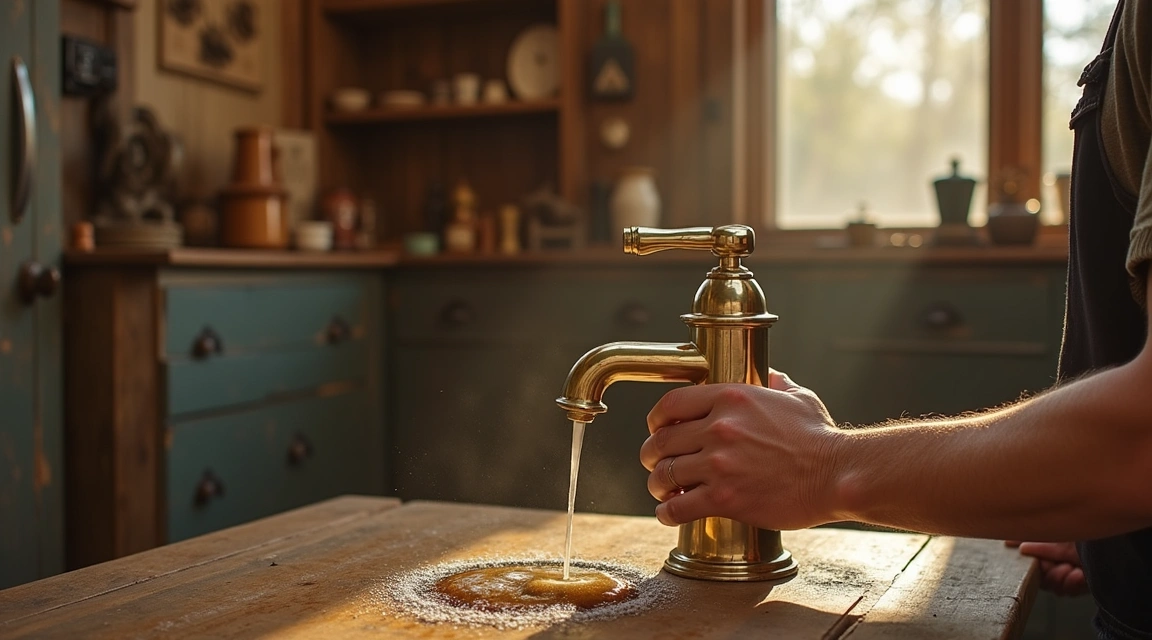
Step 5: Begin with basic washing. Fill a basin or sink with warm water and add a few drops of mild dish soap. Submerge your brass item and let it soak for five to ten minutes. This loosens surface dirt, dust, and oils that obscure the tarnish underneath. Use a soft cloth to wipe the item gently, then rinse thoroughly with clean warm water and dry completely with a lint-free towel.
Caution: Do not soak brass items that have glued joints, wooden handles, or other non-brass components. Water can loosen adhesives or damage attached materials. Instead, wipe these items with a damp cloth only.
After washing, evaluate the remaining tarnish. Light tarnish may disappear entirely from washing alone. Moderate to heavy tarnish requires a cleaning paste or solution.
Step 6: Mix your brass cleaning paste. In a small bowl, combine one tablespoon of salt, one tablespoon of white vinegar, and one tablespoon of all-purpose flour. Stir until you have a smooth, thick paste. If the mixture seems too dry, add vinegar drop by drop. If too runny, add a pinch more flour. The consistency should resemble toothpaste.
Caution: Work in a well-ventilated area when using vinegar-based cleaners. Although vinegar is far milder than commercial acids, the smell can be strong in enclosed spaces.
Apply the paste to the tarnished brass using your fingers or a soft cloth. Spread an even layer over all tarnished areas, avoiding excessive rubbing at this stage. Let the paste sit on the brass for ten to thirty minutes depending on tarnish severity. Light tarnish needs only ten minutes. Heavy, stubborn tarnish benefits from the full thirty minutes. The paste will work chemically to dissolve the oxidation during this time.
After the waiting period, use a soft cloth or an old toothbrush to gently rub the paste in small circular motions. Focus on tarnished spots but avoid pressing hard. The goal is to assist the chemical process, not to scrub abrasively. Brass is relatively soft compared to many metals, and aggressive scrubbing creates fine scratches that dull the finish over time.
Rinse the item thoroughly under warm running water, ensuring all paste residue is removed. Any remaining paste will continue reacting and may leave streaks or uneven coloring. Dry immediately and completely with a clean, soft towel. Buffing gently while drying brings out the brass’s natural shine.
Alternative Cleaning Methods
Different households have different ingredients on hand. If you lack vinegar or prefer a different approach, lemon juice works beautifully as a substitute. Cut a lemon in half and dip the cut side in table salt or baking soda. Rub this directly onto the tarnished brass, squeezing gently to release juice as you work. The citric acid in lemon juice dissolves tarnish just as vinegar does, while the salt or baking soda provides mild abrasion.
After rubbing for two to three minutes, rinse the brass thoroughly and dry it completely. This method works especially well for small items like cabinet knobs, drawer pulls, or jewelry. The fresh lemon scent is a pleasant bonus compared to vinegar’s sharper smell.
For heavily tarnished items that resist paste treatments, try a vinegar soak. Fill a container with enough white vinegar to submerge the brass item completely. Add one tablespoon of salt per cup of vinegar and stir to dissolve. Place the brass in the solution and let it soak for one to two hours. Check progress every thirty minutes. Once tarnish has loosened significantly, remove the item, rinse it thoroughly, and dry it immediately.
Caution: Extended soaking in acidic solutions can etch brass surfaces if left too long. Never soak brass overnight or for more than two hours without checking its condition. Over-soaking may remove too much metal and alter the item’s dimensions or details.
Ketchup, surprisingly, also cleans brass effectively due to its vinegar and tomato acid content. Apply a thin layer of ketchup to tarnished brass, let it sit for ten to fifteen minutes, then wipe clean and rinse. This method works best for mildly tarnished flat surfaces like kickplates or plaques. The thick consistency makes ketchup less suitable for intricate designs or crevices where it is difficult to remove completely.
Common Mistakes to Avoid
Even with the best intentions, beginners often make preventable errors that damage brass or produce disappointing results. Recognizing these pitfalls helps you avoid them from the start.
Mistake one is using abrasive tools or cleaners. Steel wool, scouring powders, and stiff brushes scratch brass irreversibly. Once scratched, brass loses its smooth, reflective quality and looks dull even when clean. Always choose soft cloths, gentle brushes, and non-abrasive cleaning agents.
Mistake two is cleaning valuable antiques without research. What looks like dirt or tarnish might be a desirable patina that collectors value highly. Antique brass should be handled minimally. Professional conservators use specialized techniques that preserve historical integrity while cleaning safely. If your brass item is old, unusual, or possibly valuable, consult an expert before attempting any cleaning.
Mistake three is failing to dry brass completely after cleaning. Water spots and streaks form when moisture is left to air-dry on brass. Worse, residual water accelerates new tarnish formation, undoing your hard work within days. Always dry brass immediately and thoroughly with a lint-free towel after rinsing.
Mistake four is over-cleaning. Brass does not need to be polished weekly or even monthly unless it is in a high-humidity environment. Excessive cleaning wears away microscopic amounts of brass with each session, slowly diminishing fine details and engraving. Clean brass only when tarnish becomes noticeable and bothers you aesthetically.
Mistake five is ignoring protective measures after cleaning. Freshly cleaned brass tarnishes again quickly if left unprotected. While some people enjoy the ritual of regular polishing, others prefer longer-lasting shine. Applying a thin coat of mineral oil, clear paste wax, or specialized brass lacquer after cleaning slows tarnish formation significantly. Wipe a small amount over the clean, dry brass with a soft cloth, buff gently, and reapply every few months.
Maintaining Brass After Cleaning
Prevention is easier than repeated cleaning. Simple habits keep brass looking beautiful longer and reduce how often you need to polish it.
First, dust brass items regularly with a soft, dry cloth. Dust and airborne particles trap moisture against the metal, accelerating tarnish. A weekly wipe-down takes seconds and makes a noticeable difference over time.
Second, keep brass dry. Moisture is tarnish’s best friend. If your brass hardware is in a bathroom or kitchen where humidity runs high, wipe it dry after showers or cooking. Outdoor brass benefits from occasional drying as well, especially after rain or morning dew.
Third, minimize handling of decorative brass. Natural oils from your skin cause brass to tarnish faster where touched frequently. Door handles and frequently used hardware will naturally need more cleaning, but decorative items that sit on shelves or walls can stay cleaner much longer if handled only when necessary.
Fourth, consider protective coatings. Clear paste wax creates a barrier between brass and air without changing its appearance significantly. Apply a thin layer with a soft cloth, let it dry for a few minutes, then buff to a shine. Reapply every three to six months depending on environmental conditions. For pieces you prefer never to tarnish, a professional can apply durable clear lacquer. This coating lasts years but eventually requires reapplication by a specialist.
When to Seek Professional Help
Some brass items exceed the scope of home cleaning. Knowing when to call a professional saves you from damaging irreplaceable pieces.
Antique brass instruments, such as trumpets, trombones, or French horns, require specialized care. The brass alloys used in instruments differ from decorative brass, and valves or keys have precise tolerances. Improper cleaning can interfere with playability or sound quality. Music shops and instrument repair specialists offer professional brass cleaning services.
Heavily corroded brass with green or blue powdery deposits indicates advanced oxidation beyond simple tarnish. This level of damage often requires professional chemical treatments or mechanical polishing that amateurs cannot safely perform at home.
Intricate brass items with fine detail, such as elaborate candelabras, statues, or architectural elements, can trap cleaning paste in crevices. Professionals have ultrasonic cleaners, specialized tools, and techniques for cleaning complex pieces without leaving residue or damaging delicate features.
Finally, lacquered brass that has deteriorated needs professional attention. Once lacquer cracks, peels, or turns cloudy, removing it completely and applying fresh lacquer requires equipment and expertise beyond typical household capabilities. Attempting DIY lacquer removal often results in uneven finishes or damage to the brass underneath.
Bringing Back the Shine
Cleaning tarnished brass safely is a satisfying project that restores beauty to your home’s metalwork. With patience, gentle techniques, and common household materials, even beginners can achieve professional-looking results. Remember to identify your brass type before starting, choose non-abrasive cleaners, work gently, and protect your brass afterward to maintain its shine longer. Whether you are reviving vintage doorknobs, polishing inherited candlesticks, or maintaining modern fixtures, these methods preserve brass’s warm golden glow for years to come.
The key to success lies in respecting the metal’s softness, avoiding harsh chemicals and abrasives, and understanding that slow, gentle cleaning produces better results than aggressive scrubbing. With regular light maintenance and occasional deeper cleaning when needed, your brass items will continue to add elegance and character to your home without requiring excessive effort or specialized products.