
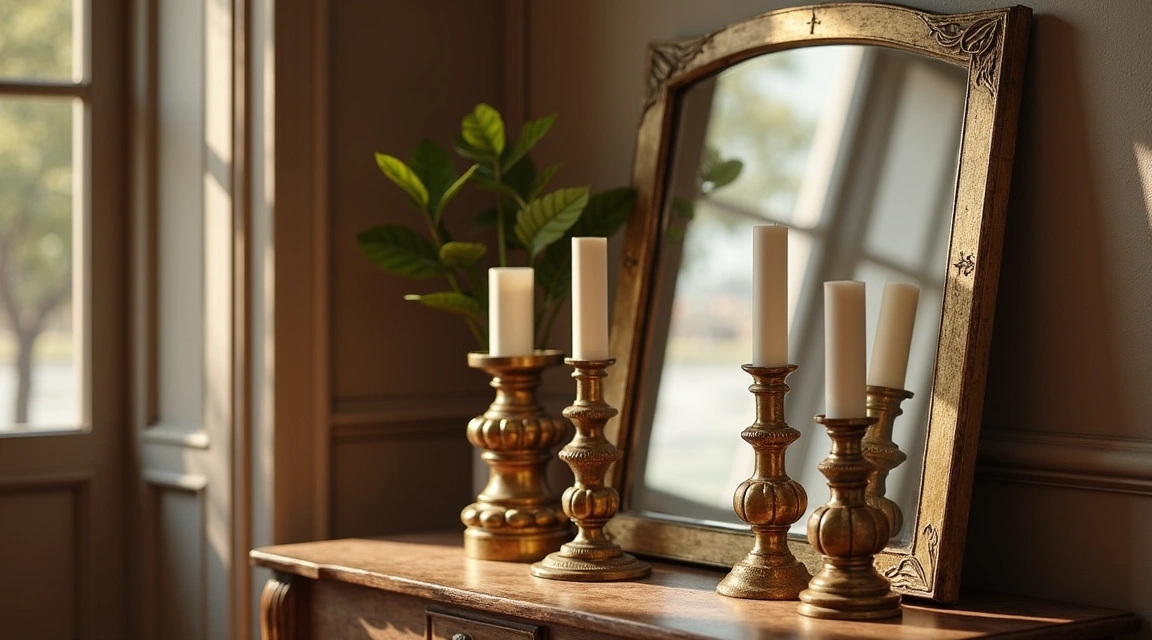
Choosing brass hardware for classic interiors transforms ordinary rooms into timeless spaces filled with warmth and character. Whether you’re restoring a Victorian townhouse, decorating a Colonial Revival kitchen, or simply adding traditional elegance to your home, selecting the right brass fixtures requires careful planning. This checklist guides you through every decision, from understanding finish options to measuring correctly, so you invest wisely and avoid costly mistakes.
Brass hardware has adorned fine homes for centuries because it ages beautifully, feels substantial in the hand, and complements wood tones perfectly. Unlike trendy finishes that date quickly, quality brass pieces increase in character over time. Before you shop, understanding what makes brass hardware suitable for classic interiors will save you hours of returns and ensure every piece works harmoniously with your design vision.
Understanding Brass Finishes and Their Maintenance Needs
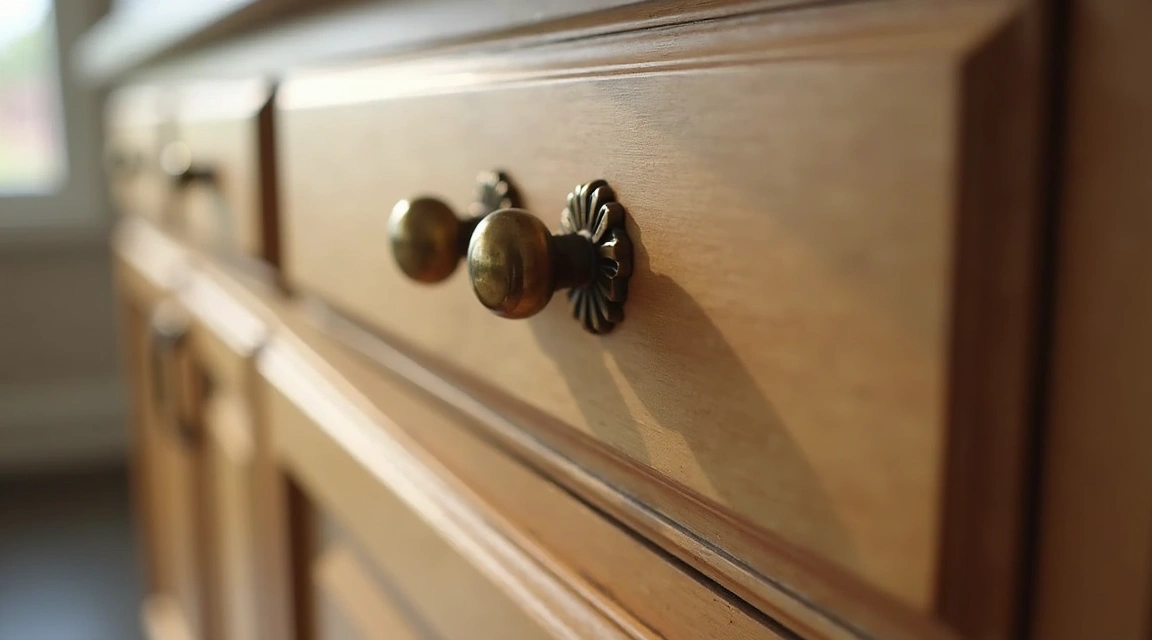
Not all brass looks the same. The finish you choose dramatically affects both appearance and upkeep requirements. Polished brass gleams like gold when new and develops a natural patina over time as it oxidizes. This living finish appeals to traditionalists who appreciate the authentic aging process. Expect polished brass to darken gradually near edges and in crevices, creating depth and visual interest.
Caution: Polished brass requires regular cleaning with specialized brass polish to maintain its bright shine. If you prefer low maintenance, this finish demands more work than others.
Lacquered brass features a clear protective coating that prevents tarnishing and oxidation. This finish stays bright and golden indefinitely without polishing. It suits homeowners who want the brass look without the maintenance commitment. However, once the lacquer chips or wears through in high-use areas, the underlying brass oxidizes unevenly, creating an inconsistent appearance that’s difficult to repair.
Caution: Once lacquer damage begins, you cannot easily restore the finish at home. You’ll need professional refinishing or replacement.
Antique brass or oil-rubbed brass comes pre-aged with a darker, brownish patina. This finish hides fingerprints beautifully and suits period homes where brand-new gleaming brass would look out of place. The darkened surface already shows character, so additional aging blends naturally. Many reproductions of historical hardware come in this finish because it authentically replicates the look of century-old originals.
Caution: Antique finishes vary significantly between manufacturers. Order samples before committing to full room quantities, as “antique brass” from two suppliers may look completely different on your cabinets or doors.
Satin brass offers a brushed, matte appearance that softens the metal’s shine while retaining its warm golden color. This finish shows fewer fingerprints than polished brass and works well in transitional spaces that blend traditional and contemporary elements. The subtle texture catches light gently rather than reflecting it sharply.
Step 1: Measure Every Location Before You Shop
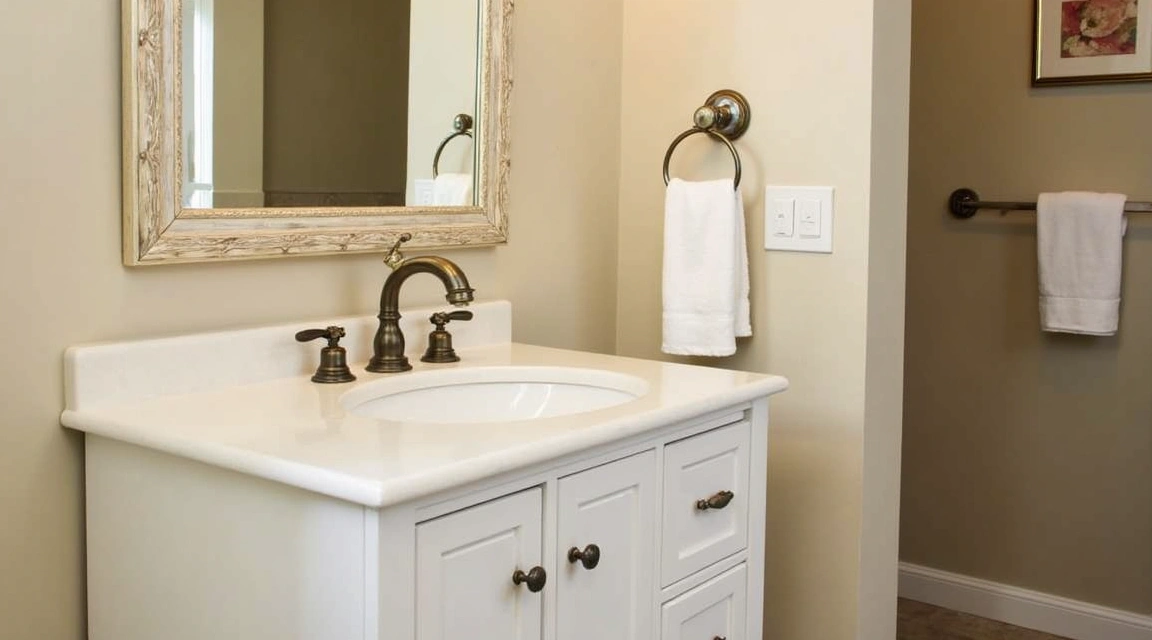
Begin your hardware selection by creating a complete measurement list. Walk through each room with a notepad, measuring tape, and your phone camera. For cabinet knobs, measure the existing hole spacing if replacing old hardware. Standard cabinet knobs typically use a single screw hole, but verify the screw length needed by measuring your cabinet door or drawer thickness, then add at least half an inch for secure mounting.
Caution: Cabinet doors often differ in thickness from drawers. Measure both separately to ensure you order screws of appropriate lengths.
For cabinet pulls, measure the distance between existing screw holes, called the center-to-center measurement. Common sizes include 3 inches, 3.75 inches, 4 inches, and 5 inches. This measurement must match exactly, or you’ll need to drill new holes, which leaves visible marks if you later change your mind. Photograph each area as you measure so you remember which measurement belongs where when you’re reviewing options online or in stores.
Door hardware requires more detailed measurements. Measure your door thickness, the backset (distance from door edge to the center of the existing knob hole), and the height at which current knobs sit. Standard interior door thickness is 1.375 inches, while exterior doors typically measure 1.75 inches. Backsets commonly measure 2.375 inches or 2.75 inches. Write these numbers clearly because ordering the wrong backset means the latch won’t align with the strike plate.
Caution: Antique doors sometimes have non-standard measurements. If your home dates before 1940, verify every dimension rather than assuming standard sizes apply.
Step 2: Choose Hardware Styles That Match Your Interior Period
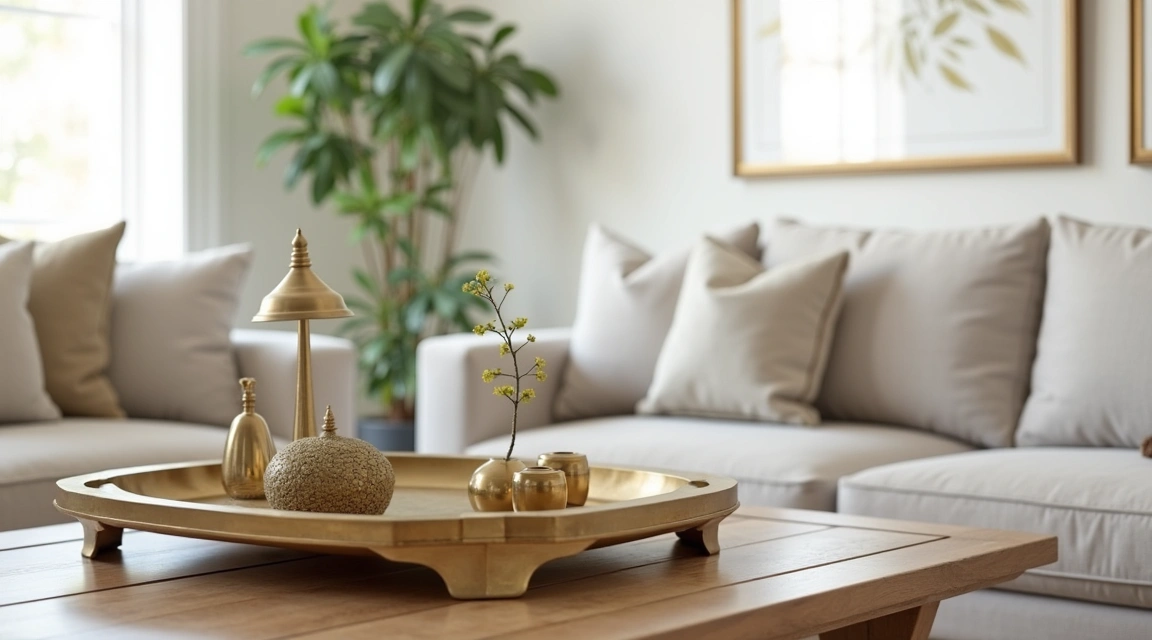
Classic interiors span many historical periods, each with distinctive hardware characteristics. Victorian homes (1837-1901) featured ornate, highly decorated brass with floral motifs, beading, and detailed backplates. Knobs were often porcelain or crystal with brass fittings. If your home exhibits Victorian architecture, look for hardware with decorative flourishes, substantial visual weight, and intricate surface patterns.
Colonial and Georgian styles (1700s-early 1800s) favor simpler, more geometric brass hardware. Round or oval knobs with minimal decoration, paired with plain keyhole escutcheons, suit these periods. Bail pulls—those distinctive drop handles that hang from a backplate—appeared frequently on Georgian furniture and cabinetry. For authentic Colonial Revival interiors, select understated pieces that emphasize proportion and symmetry over decoration.
Caution: Modern reproductions often exaggerate period details. True period hardware was handmade and shows slight irregularities. Overly perfect, machine-made pieces can look too contemporary despite historical styling.
Arts and Crafts or Craftsman interiors (1890s-1920s) used brass hardware with hand-hammered textures, square or rectangular shapes, and minimal ornamentation. The emphasis was on visible craftsmanship and honest materials. Look for pieces showing hammer marks, copper or bronze accents, and substantial proportions. Mission-style pulls with simple rectangular backplates and horizontal emphasis suit this aesthetic perfectly.
Art Deco homes (1920s-1930s) incorporated geometric brass hardware with stepped designs, sunburst patterns, and streamlined forms. If your interior features Art Deco architecture, choose hardware with angular shapes, symmetrical patterns, and sleek profiles. Octagonal knobs, chevron patterns, and elongated rectangular pulls capture this period’s machine-age optimism.
For additional guidance on selecting appropriate styles, visit our Brass Hardware Buying Guides section, which offers detailed comparisons of period-specific options.
Step 3: Calculate Quantities and Create a Room-by-Room List
Count every location where you need hardware, organizing your list by room and hardware type. A typical kitchen requires far more pieces than you might initially estimate. Count upper cabinet knobs or pulls, lower cabinet pulls (drawers often need pulls rather than knobs for easier use), and don’t forget appliance pulls, pantry hardware, and any specialized pieces for corner cabinets or pull-out shelves.
Most suppliers offer quantity discounts starting at 10 or 25 pieces. Calculate your total count, then add 10 percent extra for several reasons: you’ll want spares if a piece gets damaged, you might discover you miscounted, or you may later add cabinetry that needs matching hardware. Having extras from the same production batch ensures perfect color and finish matching.
Caution: Brass hardware production runs vary slightly in color and finish. Hardware purchased six months apart, even from the same manufacturer and product line, may not match perfectly due to natural variations in the metal and finishing process.
Create a spreadsheet with columns for room name, hardware type, quantity, finish choice, and price. Include measurements in a notes column. This organized approach prevents ordering errors and helps you compare total costs between different suppliers and quality levels. When your list is complete, you’ll have a clear picture of your total investment and can prioritize spending on the most visible hardware if budget constraints arise.
Step 4: Evaluate Quality Indicators Before Purchasing
Quality brass hardware feels substantially heavier than cheaper alternatives. Weight indicates solid brass construction rather than hollow brass-plated zinc or plastic. When examining samples in person, test the heft. A solid brass cabinet pull should feel surprisingly heavy for its size. This weight also affects functionality—heavier hardware stays firmly in position and operates smoothly over decades of use.
Inspect the finish closely. Quality finishes appear even and consistent without thin spots, bubbles, or rough texture. Turn the piece to observe how light reflects across the surface. You should see uniform color and sheen without mottling or discoloration. Check inside screw holes and on backplates for finish coverage—quality manufacturers finish all visible surfaces thoroughly, not just the most obvious areas.
Caution: Some retailers mix quality levels within the same display. Verify that the sample you’re examining matches the product code you plan to order, especially in large home improvement stores where similar-looking items may have vastly different quality levels.
Examine mechanical components on latches, hinges, and locksets. Springs should feel firm and responsive, not weak or loose. Turn knobs and levers through their full range of motion. Quality hardware moves smoothly without binding, clicking, or feeling loose. Interior mechanisms should be metal rather than plastic. While plastic parts reduce cost, they fail much sooner, especially in frequently used locations like bathroom doors or pantry latches.
Request information about the base metal composition. Solid brass hardware contains 60 to 90 percent copper mixed with zinc. This composition resists corrosion and maintains structural integrity indefinitely. Brass-plated hardware uses a thin brass coating over cheaper base metals like zinc alloy or steel. These pieces cost significantly less but the plating eventually wears through in high-contact areas, revealing the different-colored metal underneath and ruining the appearance.
Step 5: Consider Functional Requirements for Different Locations
Hardware functionality matters as much as appearance. Kitchen cabinet pulls endure constant use, often while hands are wet, greasy, or full. Choose pulls rather than knobs for lower cabinets and drawers because they’re easier to grip with full hands or when you need to pull with force. The pull length should be proportional to the drawer width—longer drawers look more balanced with longer pulls, typically at least one-third the drawer width.
Bathroom hardware faces humidity and moisture constantly. Verify that your chosen finish resists water damage. Unlacquered brass develops patina faster in humid environments, which may be desirable or problematic depending on your maintenance preferences. Lacquered or sealed finishes protect better against moisture but eventually fail if water seeps under the coating through mounting holes or finish imperfections.
Caution: Bathroom cabinet hardware near sinks and tubs experiences more moisture exposure than other areas. Even water-resistant finishes benefit from occasional drying with a soft cloth to prevent mineral deposit buildup.
Entry door hardware requires special attention because it affects home security. Decorative brass door knobs work beautifully for interior doors, but exterior doors need deadbolts with at least a one-inch throw and reinforced strike plates. Verify that decorative brass locksets include adequate security features rather than only aesthetic appeal. Some historically styled locksets provide period-appropriate appearance while incorporating modern security standards like hardened steel bolts and pick-resistant cylinders.
Furniture hardware differs from architectural hardware in mounting requirements. Dresser drawers, armoire doors, and secretary desk hardware often use smaller screws and thinner backplates than cabinetry. Antique furniture may have non-standard hole spacing that requires custom drilling or finding reproduction hardware that matches original measurements. Measure carefully and consider consulting a furniture restoration specialist before drilling new holes in valuable antiques.
Step 6: Plan Your Installation Method and Tools
Installation difficulty varies significantly based on whether you’re replacing existing hardware or installing from scratch. Simple knob replacement requires only a screwdriver—remove the old knob, insert the new one, and tighten the screw from inside the cabinet or drawer. Keep a small container nearby to hold screws as you work, organized by location if screw lengths vary.
Installing new pulls where none existed before requires careful planning. Mark hole locations using a template, which many hardware manufacturers provide. Create a cardboard master template for repetitive installations by drilling holes at your desired spacing, then positioning this template on each drawer face to mark drilling points consistently. This approach ensures all pulls align perfectly rather than appearing crooked or misaligned.
Caution: Always drill pilot holes from the visible front surface toward the back. Drilling from the back often causes the wood to splinter and chip on the front face as the drill bit exits, creating visible damage around your new hardware.
Lockset installation demands more skill and specialized tools. You’ll need a hole saw for the door face, a spade bit for the door edge, and a chisel to create the recessed area for the latch plate. Door hardware templates indicate exact hole placement and sizes. Work slowly and double-check measurements because mistakes require patching holes and restarting, which weakens the door and never looks quite right. If you’re uncomfortable with this level of carpentry, hiring a finish carpenter or locksmith ensures proper installation and prevents expensive errors.
Gather all necessary tools before starting: appropriate screwdrivers (brass screws often use slotted heads on period reproduction hardware), drill with bits matching your screw sizes, painter’s tape to prevent drill wandering, measuring tape, pencil, and level. For larger projects, a cordless drill saves significant time and effort. Have wood filler and touch-up finish available to correct any small mistakes or adjust old screw holes that don’t align with new hardware.
Common Mistakes to Avoid When Buying Brass Hardware
Many homeowners purchase hardware based solely on appearance without considering how the finish ages. Unlacquered brass patinas beautifully but may disappoint buyers expecting permanent shine. Research how your chosen finish looks after years of use by searching for aged examples online or visiting historic homes with original brass hardware. This preview of long-term appearance prevents regret after installation.
Mixing hardware styles within the same sight line creates visual chaos. While different rooms can use different styles, hardware visible from a single standing position should match in finish, style, and approximate size. In open floor plans connecting kitchen, dining, and living areas, maintain consistency across all three spaces for a cohesive look. Reserve style changes for rooms with clear visual boundaries like hallway doors or separate floors.
Caution: Even within a single finish category like “antique brass,” different manufacturers produce noticeably different colors and patina depths. Mixing brands often results in mismatched appearance despite identical finish names.
Underestimating the importance of backplates and rosettes diminishes the impact of beautiful knobs and levers. These decorative plates behind door hardware and cabinet knobs add visual weight and period authenticity. They also serve practical purposes: covering old paint lines or wood damage around previous hardware, and protecting wall or cabinet surfaces from hand oils and wear. For classic interiors, choose backplates that complement your hardware style rather than using knobs alone.
Ordering without samples leads to disappointment when actual hardware arrives looking different than website photos. Monitor color rendering varies wildly, and finish textures don’t photograph well. Request physical samples for any significant hardware purchase. Most quality suppliers offer sample programs where you pay for one piece or a small sampling fee to evaluate finish, weight, and appearance in your actual lighting conditions before committing to full quantities.
Focusing exclusively on cost without considering lifetime value creates false economy. Inexpensive brass-plated hardware may cost half as much initially but requires replacement within years when the plating wears through. Quality solid brass hardware, properly maintained, functions beautifully for generations. Calculate the cost per year of use rather than just the purchase price. A pull that lasts 50 years costs less annually than one requiring replacement every 5 years, even if the initial price is higher.
Bringing Your Classic Interior Hardware Plan Together
Creating a comprehensive brass hardware buying checklist ensures your classic interior achieves the timeless elegance you envision. Start by understanding finish options and their maintenance implications, then measure meticulously before shopping. Choose styles appropriate to your home’s architectural period, calculate exact quantities with a margin for extras, and evaluate quality carefully through weight, finish consistency, and mechanical operation.
Consider functional requirements for each location—kitchens need durable pulls, bathrooms require moisture-resistant finishes, and entry doors demand secure locksets with period styling. Plan your installation approach realistically, gathering proper tools or budgeting for professional installation on complex items like locksets. Avoid common mistakes by sampling before ordering, maintaining style consistency within sight lines, and investing in quality pieces that provide lifetime value.
With this checklist guiding your decisions, you’ll select brass hardware that enhances your classic interior’s beauty while providing reliable function for decades. The warmth of brass, the satisfaction of operating well-crafted hardware, and the authentic period character these pieces provide transform houses into homes with genuine character and enduring style. Take your time with each decision, and your patience will be rewarded every time you open a cabinet, turn a doorknob, or simply admire the rich glow of quality brass hardware in your beautifully appointed rooms.