Introduction
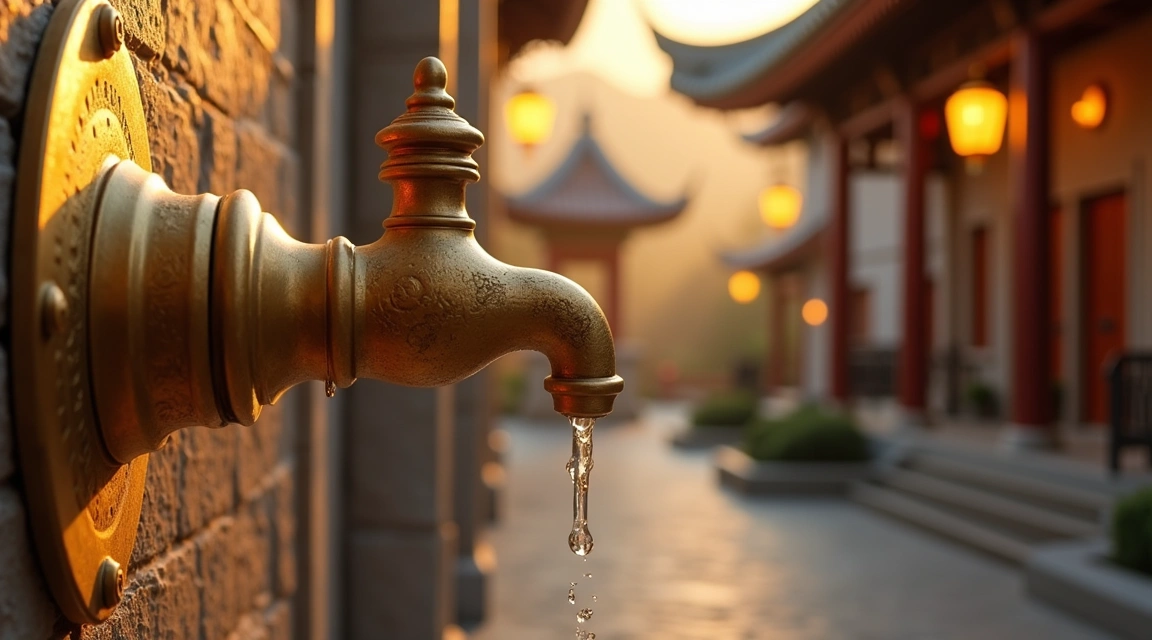
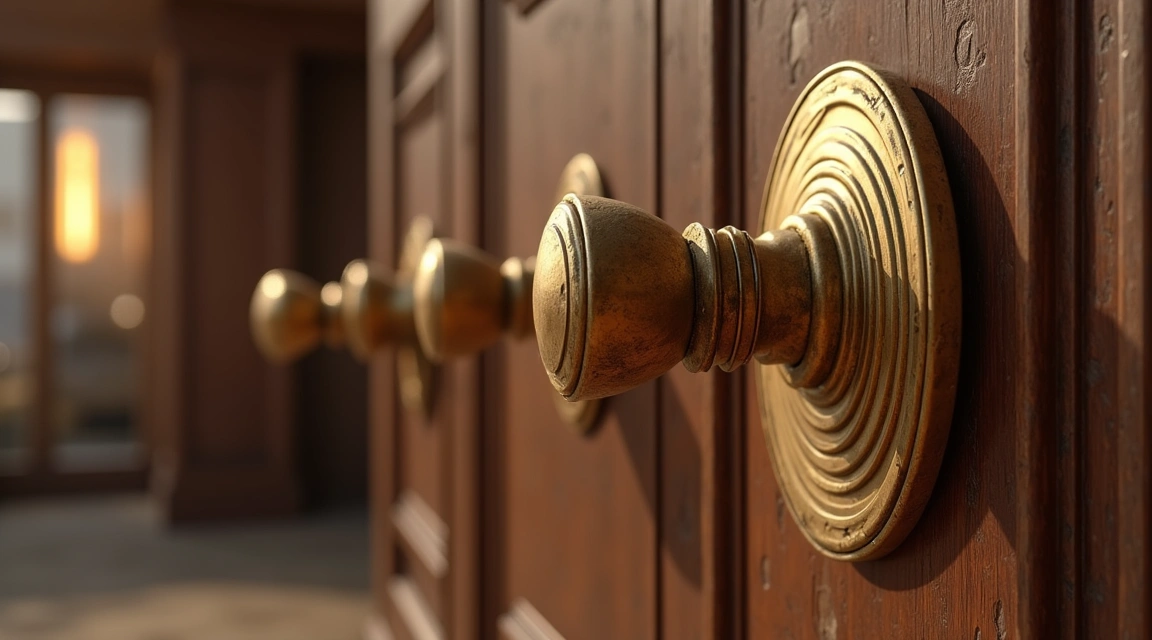
Brass fixtures add warmth, elegance, and timeless appeal to any home. From cabinet hardware and door handles to bathroom faucets and light fixtures, these golden-hued accents elevate interior design. However, brass naturally tarnishes over time, developing a dull, greenish patina that obscures its brilliant shine. Learning how to polish brass fixtures properly restores their original luster while preserving the metal’s integrity—and it’s easier than you might think.
This comprehensive guide walks you through proven methods for cleaning and polishing brass fixtures, compares different approaches, and helps you choose the best technique for your specific needs. Whether you’re dealing with lightly tarnished hardware or heavily oxidized vintage pieces, you’ll find a solution that works.
Understanding What You’re Working With

Before you begin polishing, identify whether your fixtures are solid brass or brass-plated. This distinction matters because aggressive polishing can wear through thin plating, exposing the base metal underneath. Test with a magnet: solid brass is non-magnetic, while brass-plated steel will attract a magnet. Brass-plated items require gentler cleaning methods.
Also determine whether your brass has a protective lacquer coating. Many modern fixtures feature a clear sealant that prevents tarnishing. If lacquer is present, you’ll see it flake or peel when scratched. Lacquered brass should only be cleaned with mild soap and water—polishing compounds will damage the coating.
Key Criteria for Choosing a Polishing Method
When selecting your brass polishing approach, consider these factors:
Tarnish severity: Light discoloration responds well to gentle, natural cleaners, while heavy oxidation may require commercial polishes.
Fixture type: Removable hardware can be soaked and scrubbed thoroughly, while mounted fixtures need careful application to avoid damaging surrounding surfaces.
Time investment: Some methods work quickly but require more elbow grease, while others need longer soaking but minimal scrubbing.
Environmental concerns: Natural household ingredients offer eco-friendly alternatives to chemical-based commercial products.
Budget: DIY solutions using pantry staples cost pennies, while specialty brass polishes range from $8–$25 per bottle.
Brass Polishing Methods Compared
| Method | Best For | Time Required | Effectiveness | Cost | |——–|———-|—————|—————|——| | Lemon & Salt | Light tarnish, eco-conscious users | 10–20 minutes | Moderate | Very low ($1–2) | | Vinegar, Salt & Flour Paste | Moderate tarnish, intricate details | 30–60 minutes | High | Very low ($2–3) | | Commercial Brass Polish | Heavy tarnish, quick results | 5–15 minutes | Very high | Moderate ($10–20) | | Ketchup | Mild tarnish, gentle cleaning | 15–30 minutes | Moderate | Very low ($2–4) | | Baking Soda Paste | General cleaning, gentle abrasion | 15–25 minutes | Moderate-High | Very low ($1–2) |
Step-by-Step Polishing Instructions
The Lemon and Salt Method
This natural approach works beautifully for light tarnish. Cut a lemon in half, sprinkle coarse salt on the cut surface, and rub directly onto the brass. The citric acid dissolves oxidation while salt provides gentle abrasion. Rinse thoroughly with warm water and buff dry with a soft cloth. This method is ideal for brass that needs regular maintenance rather than heavy restoration.
The Vinegar-Salt-Flour Paste
For stubborn tarnish, create a thick paste using equal parts white vinegar and flour with a tablespoon of salt. Apply generously to the brass and let sit for 30–60 minutes. The acid breaks down tarnish while flour creates a gentle polishing agent that won’t scratch. Scrub with a soft-bristled toothbrush for intricate areas, then rinse completely and dry thoroughly. This remains one of the most effective DIY methods.
Commercial Brass Polish Application
Products like Brasso, Wright’s Brass Polish, or Bar Keepers Friend offer powerful, fast-acting results. Apply a small amount to a soft cloth and rub onto brass using circular motions. Work in sections for large fixtures. The chemical formulation cuts through heavy oxidation quickly, but always wear gloves and work in ventilated areas. Follow product instructions carefully, as over-application can leave residue.
The Ketchup Trick
Yes, ketchup actually works—the mild acidity from tomatoes and vinegar gently cleans brass. Coat the surface, let sit for 15–30 minutes, then wipe clean and rinse. This method is surprisingly effective for mildly tarnished pieces and completely safe for the environment. However, it’s not strong enough for heavily oxidized brass.
Recommendations by Reader Type
For budget-conscious homeowners: Start with the vinegar-salt-flour paste method. You likely already have these ingredients, and it delivers professional-level results without spending money on specialty products.
For eco-friendly enthusiasts: The lemon and salt method or baking soda paste offers completely natural cleaning without harsh chemicals. These approaches safely return to the environment and pose no health risks.
For time-pressed professionals: Commercial brass polish provides the fastest results with minimal effort. Keep a bottle on hand for quick touch-ups before guests arrive or when selling your home.
For antique collectors: Use the gentlest method possible—often just warm soapy water—to preserve patina that adds value. Some antique brass should retain its aged character rather than being polished to high shine.
For landlords and property managers: Commercial polish in bulk offers consistency across multiple properties. Train maintenance staff on proper application to keep fixtures looking fresh between tenants.
Maintenance and Prevention Tips
After polishing, proper maintenance extends the brilliant shine. Wipe brass fixtures weekly with a dry microfiber cloth to remove fingerprints and prevent tarnish buildup. For bathroom fixtures, squeegee or wipe dry after each use to prevent water spots and mineral deposits.
Consider applying a thin coat of Renaissance Wax or clear lacquer to create a protective barrier that slows oxidation. However, this requires reapplication every 6–12 months as the coating wears.
Avoid ammonia-based cleaners, which accelerate tarnishing. Also skip abrasive scrubbers that scratch the surface, creating grooves where tarnish accumulates faster.
Final Verdict
The best brass polishing method depends on your specific situation, but for most homeowners, the vinegar-salt-flour paste offers the optimal balance of effectiveness, safety, and cost. It handles moderate to heavy tarnish beautifully, uses common household ingredients, and won’t damage your fixtures when used properly.
For routine maintenance between deep cleanings, keep lemon and salt handy for quick touch-ups. And for those situations when you need dramatic results immediately, commercial brass polish remains the most powerful option.
Whatever method you choose, regular care keeps brass fixtures glowing with warm, golden brilliance that enhances your home’s aesthetic appeal for years to come. The key is consistency—a few minutes of maintenance monthly prevents hours of intensive restoration later.
—
Meta Description: Learn how to polish brass fixtures with proven DIY and commercial methods. Compare techniques, choose the best approach for your needs, and restore brilliant shine to tarnished brass hardware.
Category: Home Improvement
Tags: brass fixtures, how to polish brass, brass cleaning, remove tarnish, brass maintenance, brass care, DIY cleaning, home hardware, brass restoration, natural cleaning methods