
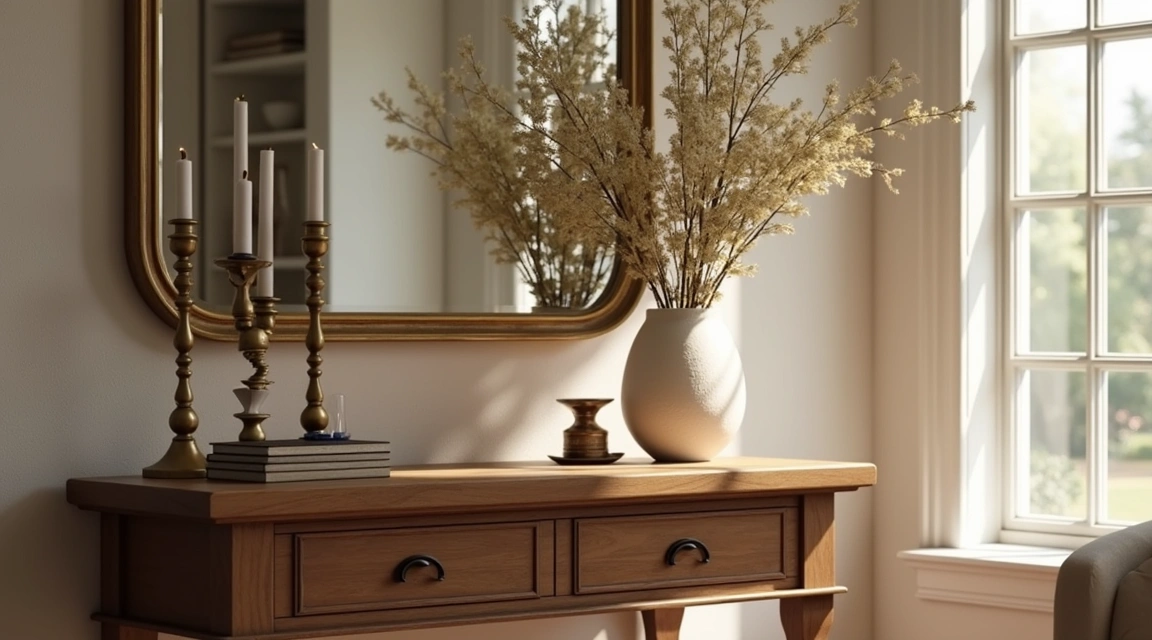
Traditional cabinet pulls bring character and elegance to kitchen and bathroom spaces, but choosing and installing them correctly requires more attention than many homeowners realize. While these classic hardware pieces can transform ordinary cabinets into statement features, several common mistakes can undermine their visual impact and functionality. Understanding where traditional pull styles fit best and what pitfalls to avoid will help you achieve a polished, professional result.
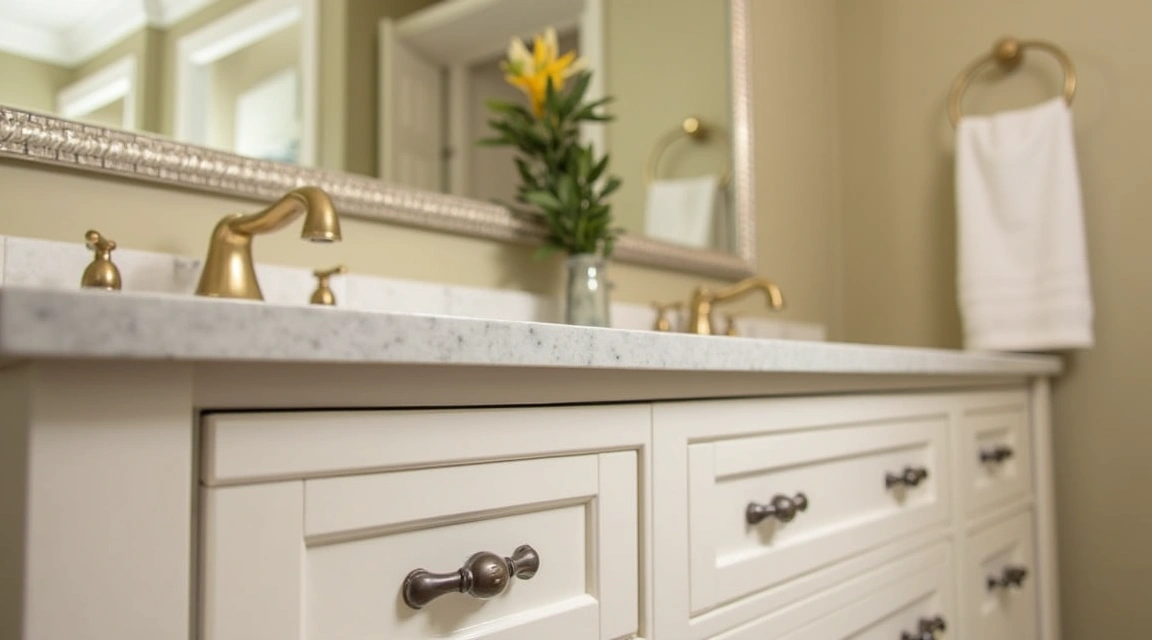
Traditional cabinet pulls encompass a range of timeless designs including cup pulls, bail pulls, drop pulls, and ornate backplate styles that have roots in furniture dating back centuries. These pieces typically feature materials like solid brass, bronze, or pewter finishes and often include decorative details such as beading, rope patterns, or botanical motifs. Before diving into installation, it’s important to match the right style to your cabinet construction and room aesthetic.
Understanding Traditional Pull Styles and Their Best Applications
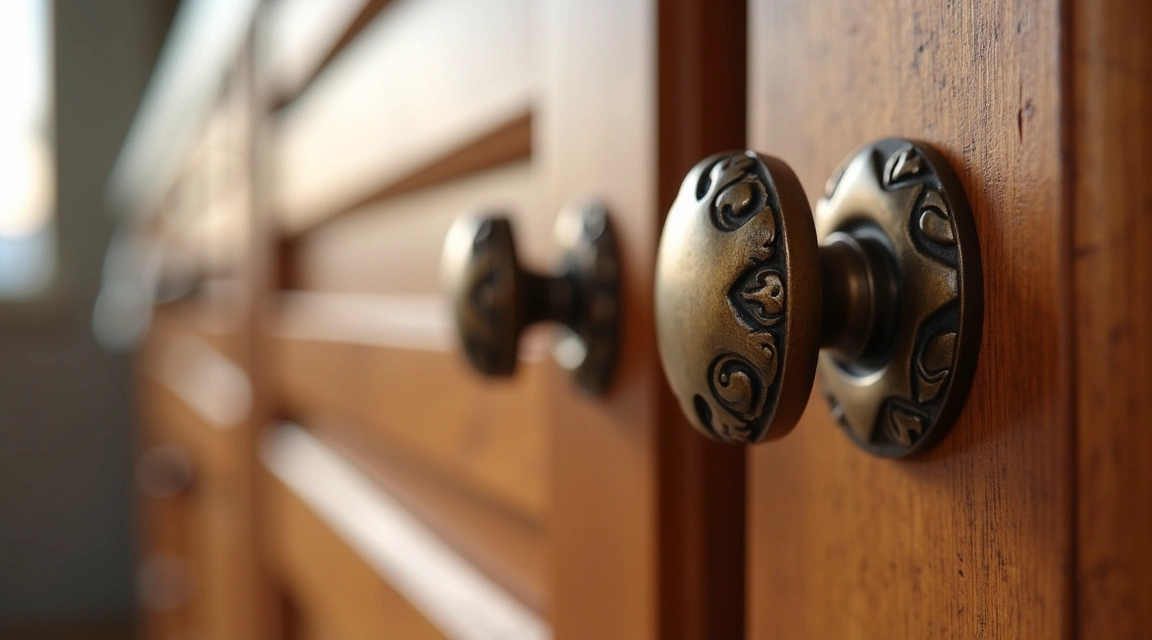
Cup pulls, also called bin pulls, feature a curved handle recessed into a backplate. They work exceptionally well on drawer fronts in kitchens with Shaker, farmhouse, or colonial design themes. The recessed design allows fingers to grip comfortably from underneath, making them ideal for frequently accessed drawers containing utensils or linens. These pulls suit flat drawer fronts best because curved or raised-panel surfaces can create awkward gaps between the backplate and wood.
Bail pulls consist of a decorative post with a swinging handle or drop. Originally used on fine furniture and apothecary cabinets, they add formality to spaces and work particularly well on larger drawers where the visual weight matches the furniture scale. Install bail pulls on dresser-style bathroom vanities or on substantial kitchen islands where traditional styling is central to the design. Avoid placing them on upper cabinets where the dangling handle may hit adjacent doors or where limited clearance makes the swinging motion impractical.
Drop pulls feature a single teardrop or pendant shape attached to a rosette or backplate. These elegant pieces suit smaller drawers and cabinet doors in powder rooms, butler’s pantries, or as accents on glass-front cabinets. Their vertical orientation requires careful spacing consideration—the drop should not extend so far that it interferes with countertops or adjacent fixtures.
For more guidance on selecting hardware that complements your overall design, visit our Cabinet Hardware section.
Step-by-Step Installation Process for Traditional Cabinet Pulls
Step 1: Measure and mark placement positions carefully. Use a measuring tape and pencil to mark the center point where your pull will mount. For drawer fronts, center the hardware horizontally and position it approximately two to three inches from the top edge. On cabinet doors, place pulls on the stile (vertical frame member) opposite the hinge side, roughly two to four inches from the top corner.
Caution: Always measure from the same reference edge on all cabinets to ensure consistent alignment. Inconsistent measurements create a visibly uneven appearance even when the variation is only a quarter inch.
Step 2: Create a drilling template. Cut a piece of cardboard or rigid paper matching your pull’s mounting hole pattern. Mark the screw positions clearly and punch small holes at each point. This reusable template ensures every pull mounts at identical spacing and prevents measurement errors that accumulate across multiple cabinets.
Caution: Verify your template against the actual pull hardware before drilling any cabinet. Some traditional pulls have irregular or decorative backplate shapes that affect hole positioning in ways that aren’t immediately obvious from packaging measurements.
Step 3: Drill pilot holes from the front face of the cabinet door or drawer. Use a drill bit slightly smaller than your mounting screw diameter. Place painter’s tape on the back side of the drilling location to prevent wood splintering as the bit exits. Drill straight and perpendicular to the surface to ensure screws seat properly and pulls hang level.
Caution: Check cabinet thickness before selecting screw length. Standard cabinet doors are typically five-eighths to three-quarters of an inch thick, but some custom or older cabinets vary. Screws that are too long will protrude through the interior face and potentially damage contents or create injury hazards.
Step 4: Insert mounting screws through the pull from the decorative front side. Align the pull with your drilled holes and thread screws through from the front. Have a helper hold the pull in position on the front while you work from the inside, or use a small piece of tape to hold it temporarily while you start the screws.
Caution: Do not overtighten screws during initial installation. Thread them until they’re just snug, then make a final tightening pass after confirming the pull sits flush and level. Overtightening can strip soft brass screws or crack decorative backplates.
Step 5: Tighten screws evenly from the interior side. Alternate between screws if your pull uses two or more mounting points, tightening each a few turns at a time. This even pressure prevents the pull from canting to one side and ensures the backplate seats uniformly against the cabinet face. Use a screwdriver rather than a power drill for final tightening to maintain better control and avoid stripping.
Caution: Traditional pulls with decorative finishes require gentle handling. Avoid gripping decorative elements during installation, as oils from hands can cause tarnishing on unsealed brass or bronze. Wear clean cotton gloves when handling unlacquered finishes.
Step 6: Inspect alignment across all installed pulls. Step back several feet and check that all hardware aligns horizontally and vertically. Check particularly that pulls on side-by-side drawers or doors line up precisely. Minor adjustments are easier to make immediately after installation than after the project is complete.
Caution: Some traditional pulls develop a patina or tarnish over time, which is often desirable for authentic aged character. However, if you prefer maintaining a bright finish, ask your supplier about lacquered options or appropriate cleaning methods before installation. Harsh cleaners can damage decorative finishes and remove protective coatings.
Common Mistakes When Selecting and Installing Traditional Cabinet Pulls
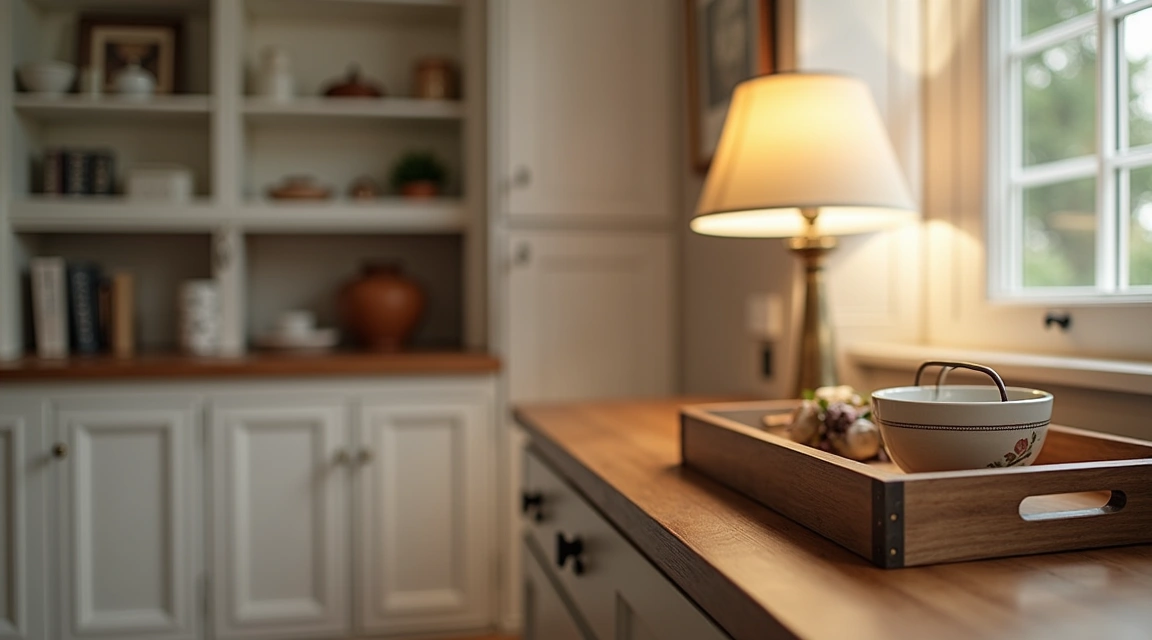
One frequent error is choosing pull sizes that don’t match cabinet scale. Oversized ornate pulls overwhelm small drawer fronts, while tiny pulls on large pantry doors look undersized and feel awkward to grip. A general guideline suggests pulls should span roughly one-third to one-half the width of drawer fronts. On doors, the pull size should feel substantial enough to grasp comfortably without appearing crowded against the door edge or dominating the entire surface.
Another mistake involves mixing too many traditional styles within a single space. While coordinating different hardware on upper and lower cabinets can add visual interest, combining cup pulls, bail pulls, ornate backplate pulls, and drop pulls in the same kitchen creates confusion rather than character. Select one or two complementary styles and use them consistently throughout the space. For example, use cup pulls on all drawers and a coordinating backplate pull on cabinet doors.
Failing to account for adjacent drawers and doors causes functional problems. When pulls extend too far from the cabinet face or are positioned too close to neighboring elements, drawers and doors cannot open fully without hardware colliding. This issue appears particularly often with bail pulls, whose swinging handles need clearance. Always test clearance by opening adjacent doors and drawers completely before finalizing hardware positions.
Ignoring cabinet construction details leads to installation failures. Some cabinet faces use particleboard or thin veneer that doesn’t hold screws securely, especially with heavy traditional pulls. If your cabinets lack solid wood construction, use longer screws that penetrate into the cabinet frame behind the face, or add reinforcement backing blocks inside the cabinet before mounting hardware. Similarly, glass-front cabinet doors require special mounting techniques and appropriate hole-saw bits designed for glass to prevent cracking.
Purchasing hardware without verifying finish compatibility with other fixtures creates visual discord. Traditional cabinet pulls come in numerous finish options including polished brass, antique brass, oil-rubbed bronze, pewter, and brushed nickel. These finishes should coordinate with your faucets, light fixtures, and door hardware. While perfect matching isn’t mandatory, finishes should share similar undertones—warm brass pulls clash visually with cool chrome faucets, for instance.
Installing hardware before paint or finish work is complete risks damage to decorative surfaces. Cabinet refinishing often involves sanding, priming, and multiple finish coats that can splatter or accumulate on installed hardware. Similarly, removing and reinstalling pulls repeatedly to accommodate finish work increases wear on both the hardware and mounting holes. Drill and prepare all mounting holes before finishing, but wait to install the actual pulls until after final coats have cured.
Neglecting to check screw thread compatibility causes frustration. Traditional pulls from different manufacturers may look identical but use metric or imperial threading that doesn’t match. If you’re replacing existing hardware or mixing pieces from different suppliers, test-fit screws before beginning installation. Keep track of which screws belong with which pulls, especially in larger projects involving multiple hardware styles.
Maintaining Traditional Cabinet Pulls
Traditional finishes develop character over time, but proper maintenance preserves both appearance and function. Clean brass and bronze pulls with soft cloths slightly dampened with water. Avoid abrasive cleaners or scrubbing pads that scratch decorative details. For tarnished unlacquered brass, specialized brass polish restores shine, though many homeowners prefer allowing natural patina to develop for authentic vintage character.
Periodically check mounting screws for tightness. Daily use gradually loosens hardware, and loose pulls stress mounting holes and can cause wood damage over time. Every few months, test each pull by gently attempting to wiggle it. If movement is detectable, carefully tighten mounting screws from the interior cabinet side. If screws no longer grip because holes have enlarged, use slightly larger diameter screws or fill the hole with wood filler, let it cure, and redrill.
Address finish wear or damage promptly. If decorative coatings chip or lacquer peels, exposed base metal can corrode. Some traditional pulls can be refinished by specialists, while severely damaged pieces may need replacement. Keep one spare pull from your original purchase as a future replacement option, since hardware styles and finishes change frequently and exact matches become difficult to source years later.
Summary
Traditional cabinet pulls enhance kitchen and bathroom designs when chosen and installed thoughtfully. Understanding which pull styles suit specific cabinet types and room aesthetics prevents costly mismatches. Careful measurement, template use, and attention to drilling technique ensure professional-looking installations. Avoiding common mistakes such as improper sizing, finish mismatches, and clearance problems saves time and frustration. By following systematic installation steps with appropriate caution at each stage, and maintaining hardware properly over time, traditional cabinet pulls will provide both beauty and reliable function for years. Remember that consistency in style and placement matters more than following rigid rules—trust your eye while respecting basic proportions and practical clearances.