
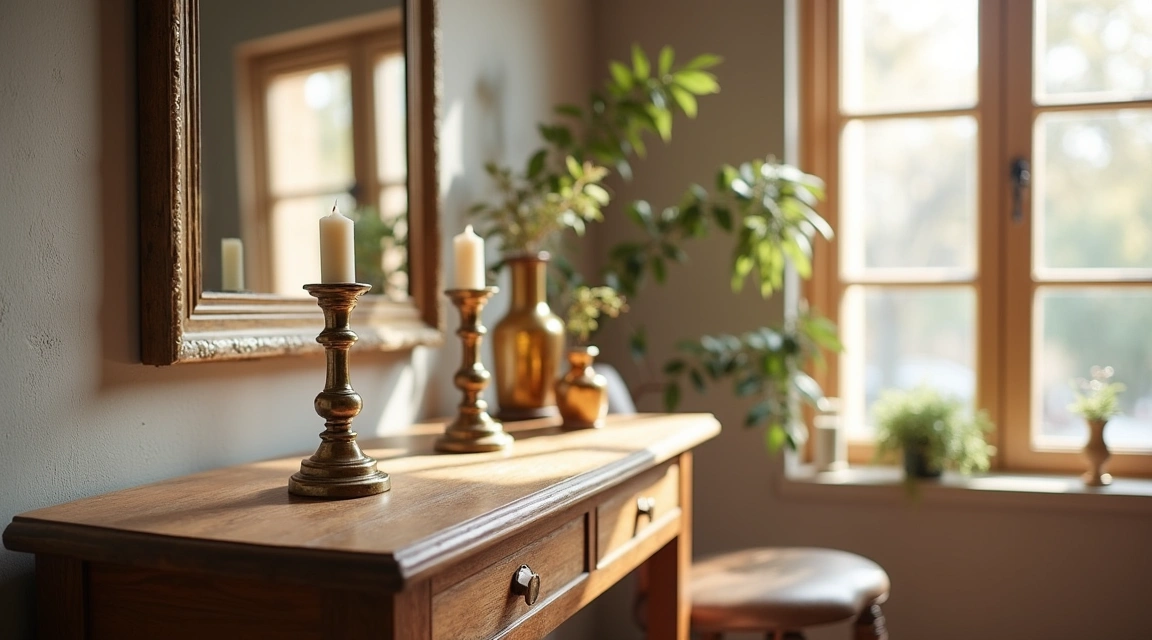
Restoring brass items can feel overwhelming when you’re opening a tarnished family heirloom or thrift store find for the first time. Whether you’ve inherited a candlestick, found a vintage door handle, or acquired an antique lamp, the path from neglected metal to gleaming showpiece involves several important decisions. This practical checklist walks first-time restorers through the essential considerations, compares common approaches, and helps you choose the right method for your specific project.
Understanding what you’re working with—and what outcome you want—makes the difference between a satisfying restoration and a frustrating afternoon. Some brass pieces benefit from gentle cleaning that preserves original patina, while others need aggressive treatment to reveal the metal underneath decades of corrosion. The right choice depends on the item’s condition, historical value, intended use, and your comfort level with various techniques.
Essential Criteria Before You Start
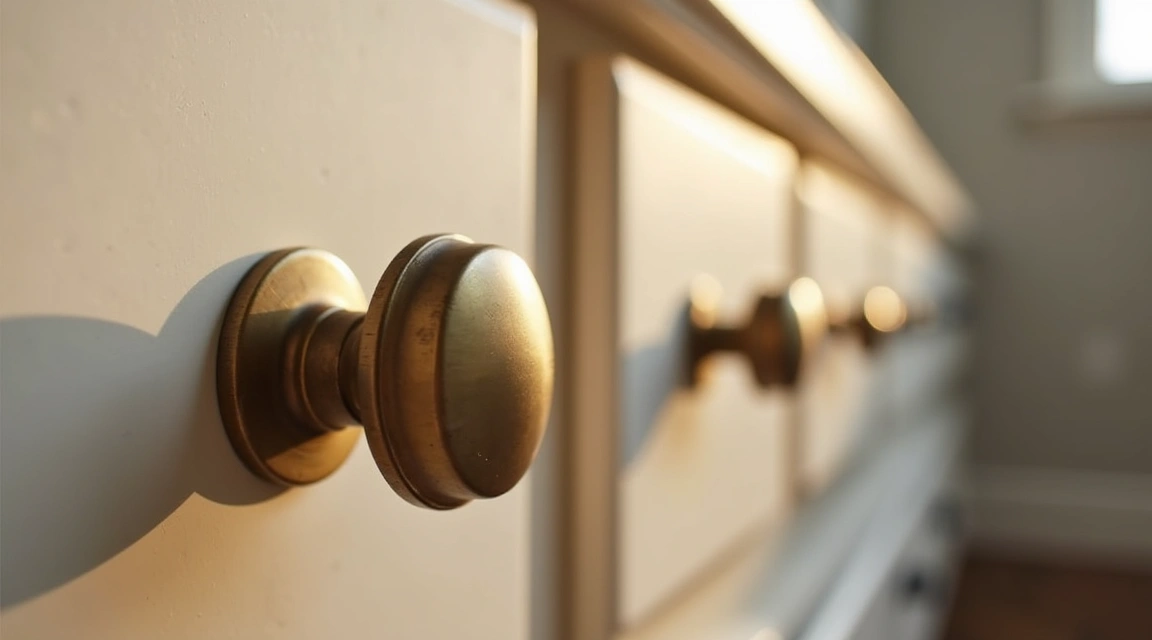
Before selecting a restoration method, evaluate your brass item across several dimensions. First, determine whether you’re working with solid brass or brass-plated metal. Scratch a hidden area gently with a needle; solid brass shows consistent gold color beneath the surface, while plated items reveal a different metal underneath. This distinction is critical because aggressive polishing can strip plating entirely.
Next, assess the item’s historical and monetary value. Antique pieces with maker’s marks, unusual designs, or documented provenance may lose significant value if over-restored. Collectors often prefer original patina on older items, viewing it as proof of authenticity and age. Conversely, decorative pieces intended for daily use typically benefit from full restoration to bright brass.
Consider the level of damage present. Light tarnish responds well to mild cleaners and requires minimal effort. Moderate oxidation with green or black spots needs stronger treatment but remains manageable for beginners. Severe corrosion with pitting, flaking lacquer, or structural weakness may require professional intervention or specialized techniques beyond typical home restoration.
Your available time and tools also matter. Quick refreshes can happen in under an hour with household supplies, while thorough restorations involving multiple steps, drying periods, and protective coatings can span several days. Assess whether you have adequate ventilation, protective equipment, and workspace before committing to chemical treatments.
Comparing Common Restoration Approaches
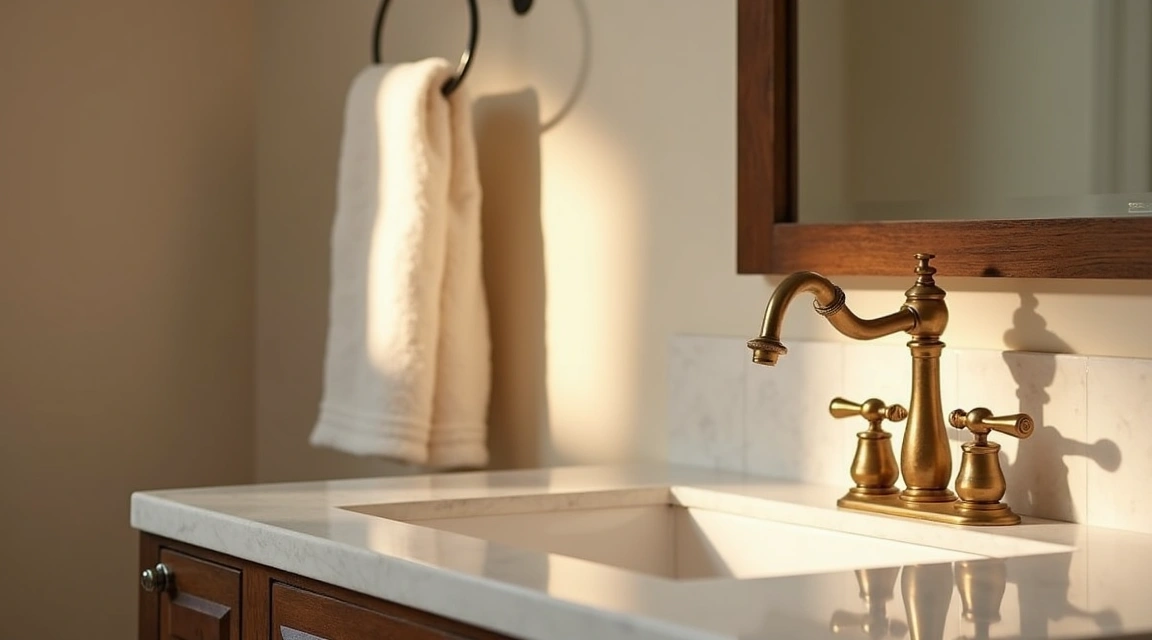
First-time restorers typically choose among three main approaches, each with distinct advantages and limitations. The following table compares these methods across practical dimensions:
| Method | Best For | Time Required | Skill Level | Key Advantages | Main Drawbacks |
|---|---|---|---|---|---|
| Gentle Cleaning (soap, lemon, vinegar) |
Light tarnish, plated items, antiques | 30–60 minutes | Beginner-friendly | Preserves patina and plating; uses household materials; minimal risk | Limited effectiveness on heavy corrosion; requires more frequent maintenance |
| Commercial Polish (liquid or paste) |
Moderate tarnish, solid brass, decorative items | 1–2 hours | Beginner to intermediate | Produces bright shine; removes oxidation layers; widely available | Removes all patina; can strip thin plating; requires elbow grease and ventilation |
| Chemical Treatment (ammonia, specialized removers) |
Heavy corrosion, outdoor hardware, non-antiques | 2–4 hours plus drying | Intermediate to advanced | Handles severe oxidation; reaches intricate details; less physical effort | Requires safety equipment; can damage surrounding materials; needs careful neutralization |
Each approach serves different restoration goals. Gentle cleaning maintains the item’s current character while removing surface dirt and mild discoloration. This conservative method suits pieces where originality matters more than brilliance, and it’s the safest starting point when you’re uncertain about the item’s construction or value.
Commercial polishes deliver the classic bright brass appearance most people envision. These products contain mild abrasives and chemical cleaners that strip away oxidation to reveal fresh metal. They work well for items you want to display prominently or use regularly, though they eliminate any aged patina that collectors might value. Always test commercial polish on an inconspicuous area first, especially on plated items.
Chemical treatments tackle stubborn problems that resist mechanical polishing. These solutions dissolve heavy oxidation and reach into crevices that cloths and brushes can’t access effectively. However, they demand careful handling, adequate ventilation, and attention to safety instructions. First-time restorers should reserve this approach for items that genuinely need it, after confirming the piece is solid brass rather than plated.
Recommendations by Reader Type
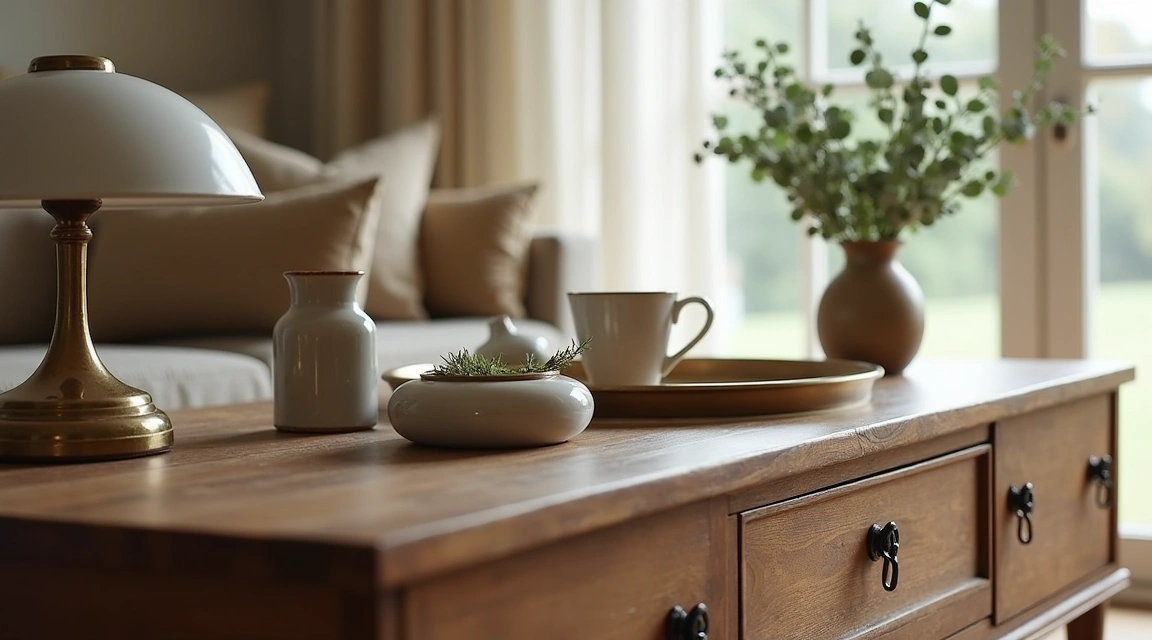
Different restorers have different priorities. Match your approach to your situation and goals for the best experience and outcome.
If you’re restoring a family heirloom or antique: Start with the gentlest method possible. Clean the item with mild dish soap and warm water, using a soft cloth to remove dirt without abrading the surface. If tarnish remains, try a paste of lemon juice and baking soda applied gently with a cotton swab, testing first in a hidden spot. Preserve any original patina in recessed areas, as this adds character and proves authenticity. Avoid aggressive polishing that removes metal and erases the marks of age that give antiques their appeal. Consider consulting with an antiques appraiser before treating valuable pieces, as some restoration methods can reduce market value.
If you’re reviving a decorative item for display: Commercial brass polish offers the most dramatic visual transformation with moderate effort. Work in a well-ventilated area and wear gloves to protect your skin. Apply polish with a soft cloth using circular motions, then buff with a clean cloth until the shine develops. For intricate items like candlesticks or figurines, use cotton swabs or a soft-bristled toothbrush to reach detailed areas. After polishing, consider applying a thin coat of brass lacquer or wax to slow future tarnishing and reduce maintenance frequency. This approach suits items where appearance matters most and originality is less important than presentation.
If you’re restoring hardware for practical use: Functional items like door handles, drawer pulls, or light fixtures benefit from thorough cleaning that removes corrosion without requiring museum-level preservation. Remove the hardware from its mounting if possible to avoid damaging surrounding materials. For moderate tarnish, commercial polish works well. For outdoor hardware with green corrosion or heavy black oxidation, chemical treatments may be necessary. After cleaning, consider whether the item needs a protective coating based on its exposure to weather, moisture, or frequent handling. Functional brass often performs better with a clear protective finish that prevents rapid re-tarnishing.
If you’re working with plated items: Exercise extreme caution with any brass-plated object. The brass layer can be surprisingly thin, and aggressive treatment exposes the base metal underneath, ruining the piece. Stick to gentle cleaning methods using soft cloths and mild solutions. Never use abrasive pads, steel wool, or aggressive rubbing. If plating is already worn through in spots, decide whether to live with the imperfection or seek professional re-plating. Most home restoration methods cannot repair damaged plating and will only worsen the problem.
Step-by-Step Practical Checklist
Follow this sequence to approach any brass restoration methodically and safely:
- Test the metal: Confirm whether you have solid brass or plated brass by scratching a hidden area gently. Adjust your entire approach based on this finding.
- Document the starting condition: Take clear photographs before touching the item. This helps you track progress and provides a record if you later question your methods.
- Remove loose dirt: Wash the item with mild dish soap and warm water, using a soft cloth. Dry thoroughly. This reveals the actual condition beneath surface grime.
- Assess the remaining issues: Identify what problems remain after basic cleaning—light tarnish, moderate oxidation, green corrosion, or structural damage.
- Select your method: Choose the gentlest approach likely to address the actual problems. You can always escalate to stronger treatments if needed, but you cannot undo overly aggressive initial treatment.
- Gather materials and safety equipment: Assemble everything before starting. For chemical treatments, this includes gloves, eye protection, and adequate ventilation. Work outdoors when possible.
- Test in a hidden spot: Apply your chosen method to an inconspicuous area first. Wait to see the full result before proceeding to visible surfaces.
- Work systematically: Clean one section at a time, maintaining consistent pressure and technique. This produces even results and helps you track progress.
- Neutralize and rinse thoroughly: After any chemical treatment, neutralize the cleaner and rinse the item completely with clean water. Residues can cause continued corrosion.
- Dry completely: Use soft towels and allow the item to air dry fully. Moisture left in crevices promotes rapid re-tarnishing.
- Apply protection if desired: Consider a thin coat of wax or lacquer to maintain your results longer, especially for decorative or outdoor items.
- Plan ongoing maintenance: Even well-restored brass requires periodic care. Determine a realistic maintenance schedule based on the item’s exposure and use.
Common Pitfalls to Avoid
First-time restorers often encounter preventable problems. Avoid using abrasive materials like steel wool or scouring pads on brass, as these leave permanent scratches visible even after polishing. Don’t mix different cleaning products, particularly ammonia-based and acid-based cleaners, as chemical reactions can damage the brass or create hazardous fumes.
Many beginners over-polish brass items, removing more metal than necessary and eliminating desirable patina. Stop when the item looks clean and attractive, even if you could achieve slightly more shine with continued work. Over-polishing thins the metal over time and can round off crisp details on decorative pieces.
Another common mistake involves neglecting to protect surrounding materials during restoration. Chemical cleaners and polishes can stain wood, fabric, stone, and painted surfaces. Remove brass hardware from furniture or fixtures before treating it, or mask adjacent areas carefully with tape and plastic. Always work on protected surfaces and keep cleaning solutions contained.
Don’t skip the neutralization and rinsing steps after chemical treatments. Residual cleaner continues to react with brass, causing new corrosion that undoes your restoration work. Rinse items thoroughly under running water and dry them completely before reassembly or storage.
Final Verdict
Successful brass restoration begins with accurate assessment and ends with an approach matched to your specific item and goals. First-time restorers should start conservatively, using the gentlest method likely to achieve acceptable results. You can always increase treatment intensity if initial attempts prove insufficient, but you cannot reverse damage from overly aggressive early treatment.
For most beginners, gentle cleaning with household materials provides a safe entry point that builds confidence and reveals the item’s true condition. As you gain experience, you’ll develop intuition for when stronger methods serve the piece better. Remember that not every brass item needs to shine like new—sometimes character and history matter more than brilliance.
The restoration community values both preservation and presentation, understanding that different items call for different approaches. Browse more guidance in our Restoration Ideas section to build your skills and discover techniques for various brass items. With careful assessment, appropriate methods, and realistic expectations, first-time restorers can achieve satisfying results that bring treasured brass items back to useful, beautiful life.